
Build Ads Faster with Bulk Editing
You don’t need to prepare your ads row by row. Launch Sheets support powerful tools that help you build ads much faster. The quickest way to start is by importing your assets in bulk.
Below is the recommended workflow:
Import all your assets in bulk
Let Kitchn auto-group and pre-fill your rows
Edit multiple rows at once using the new column editing tools
(Optional) import fields from existing ads
Import assets in bulk (recommended)
Bulk importing is the fastest way to create ads in Launch Sheets.
It lets you bring in dozens of creatives at once and automatically group them into rows.
How it works
Select your assets
Click “Import assets” at the bottom-left of the sheet.
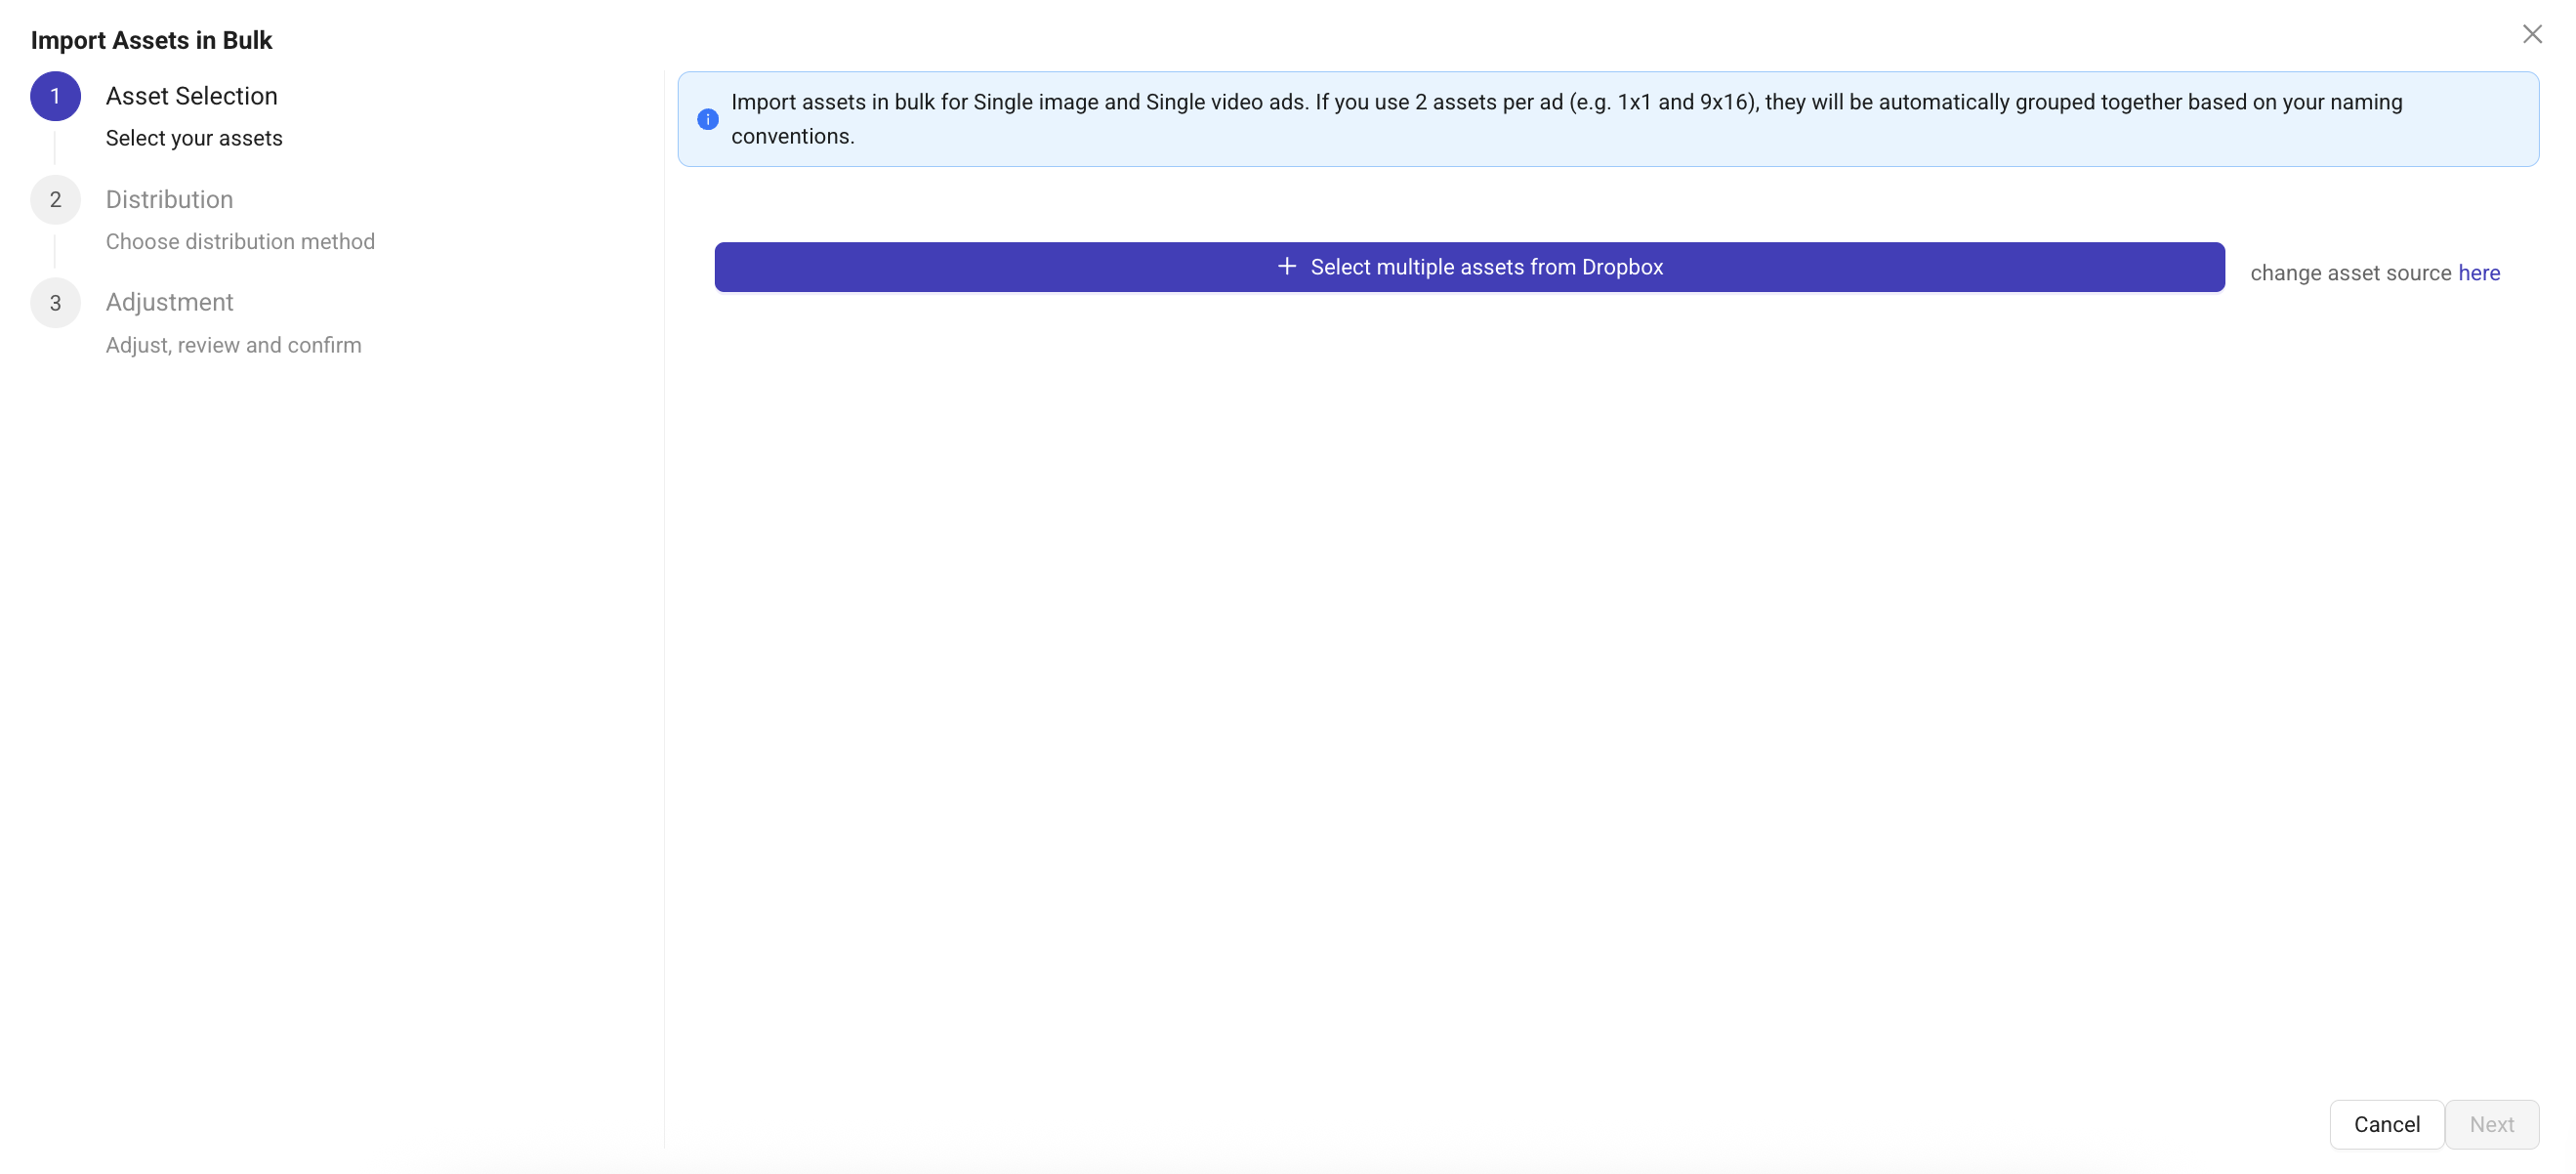
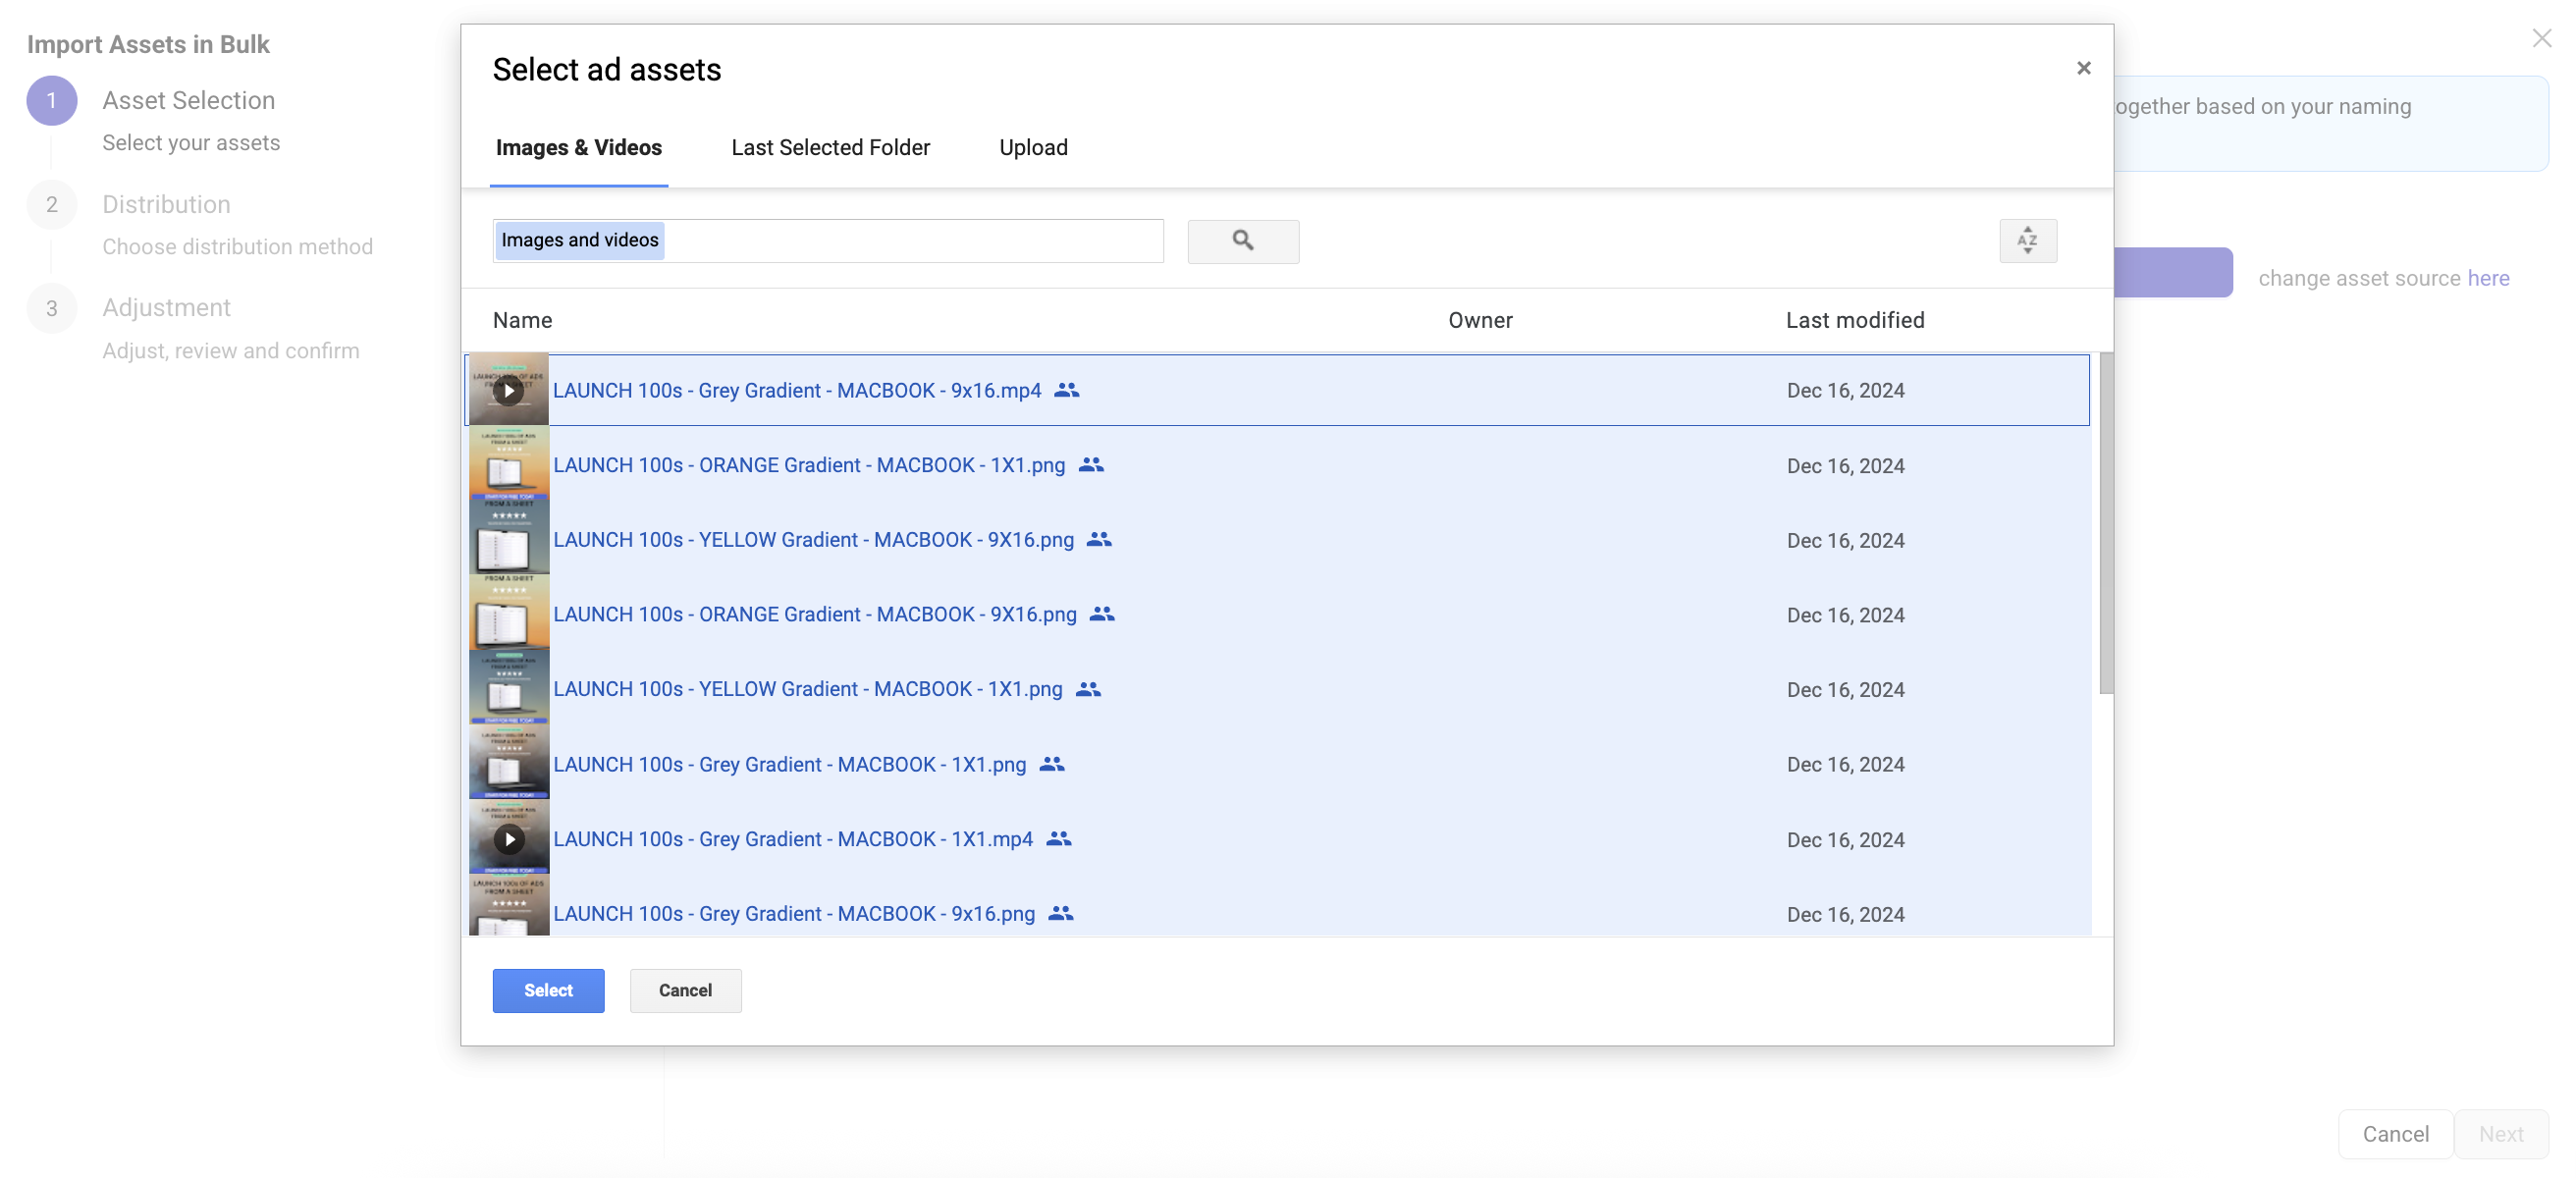
You can select multiple files at once from:
Google Drive
Dropbox
Your local device
Tip: use
CMD+A(Mac), orCTRL+A(Windows) to select everything in a folder.Most users work with two versions of each asset (1x1 and 9x16). Kitchn recognises these pairs automatically.
If you like, you can now also add more assets from a different folder using the 'Add more assets' button.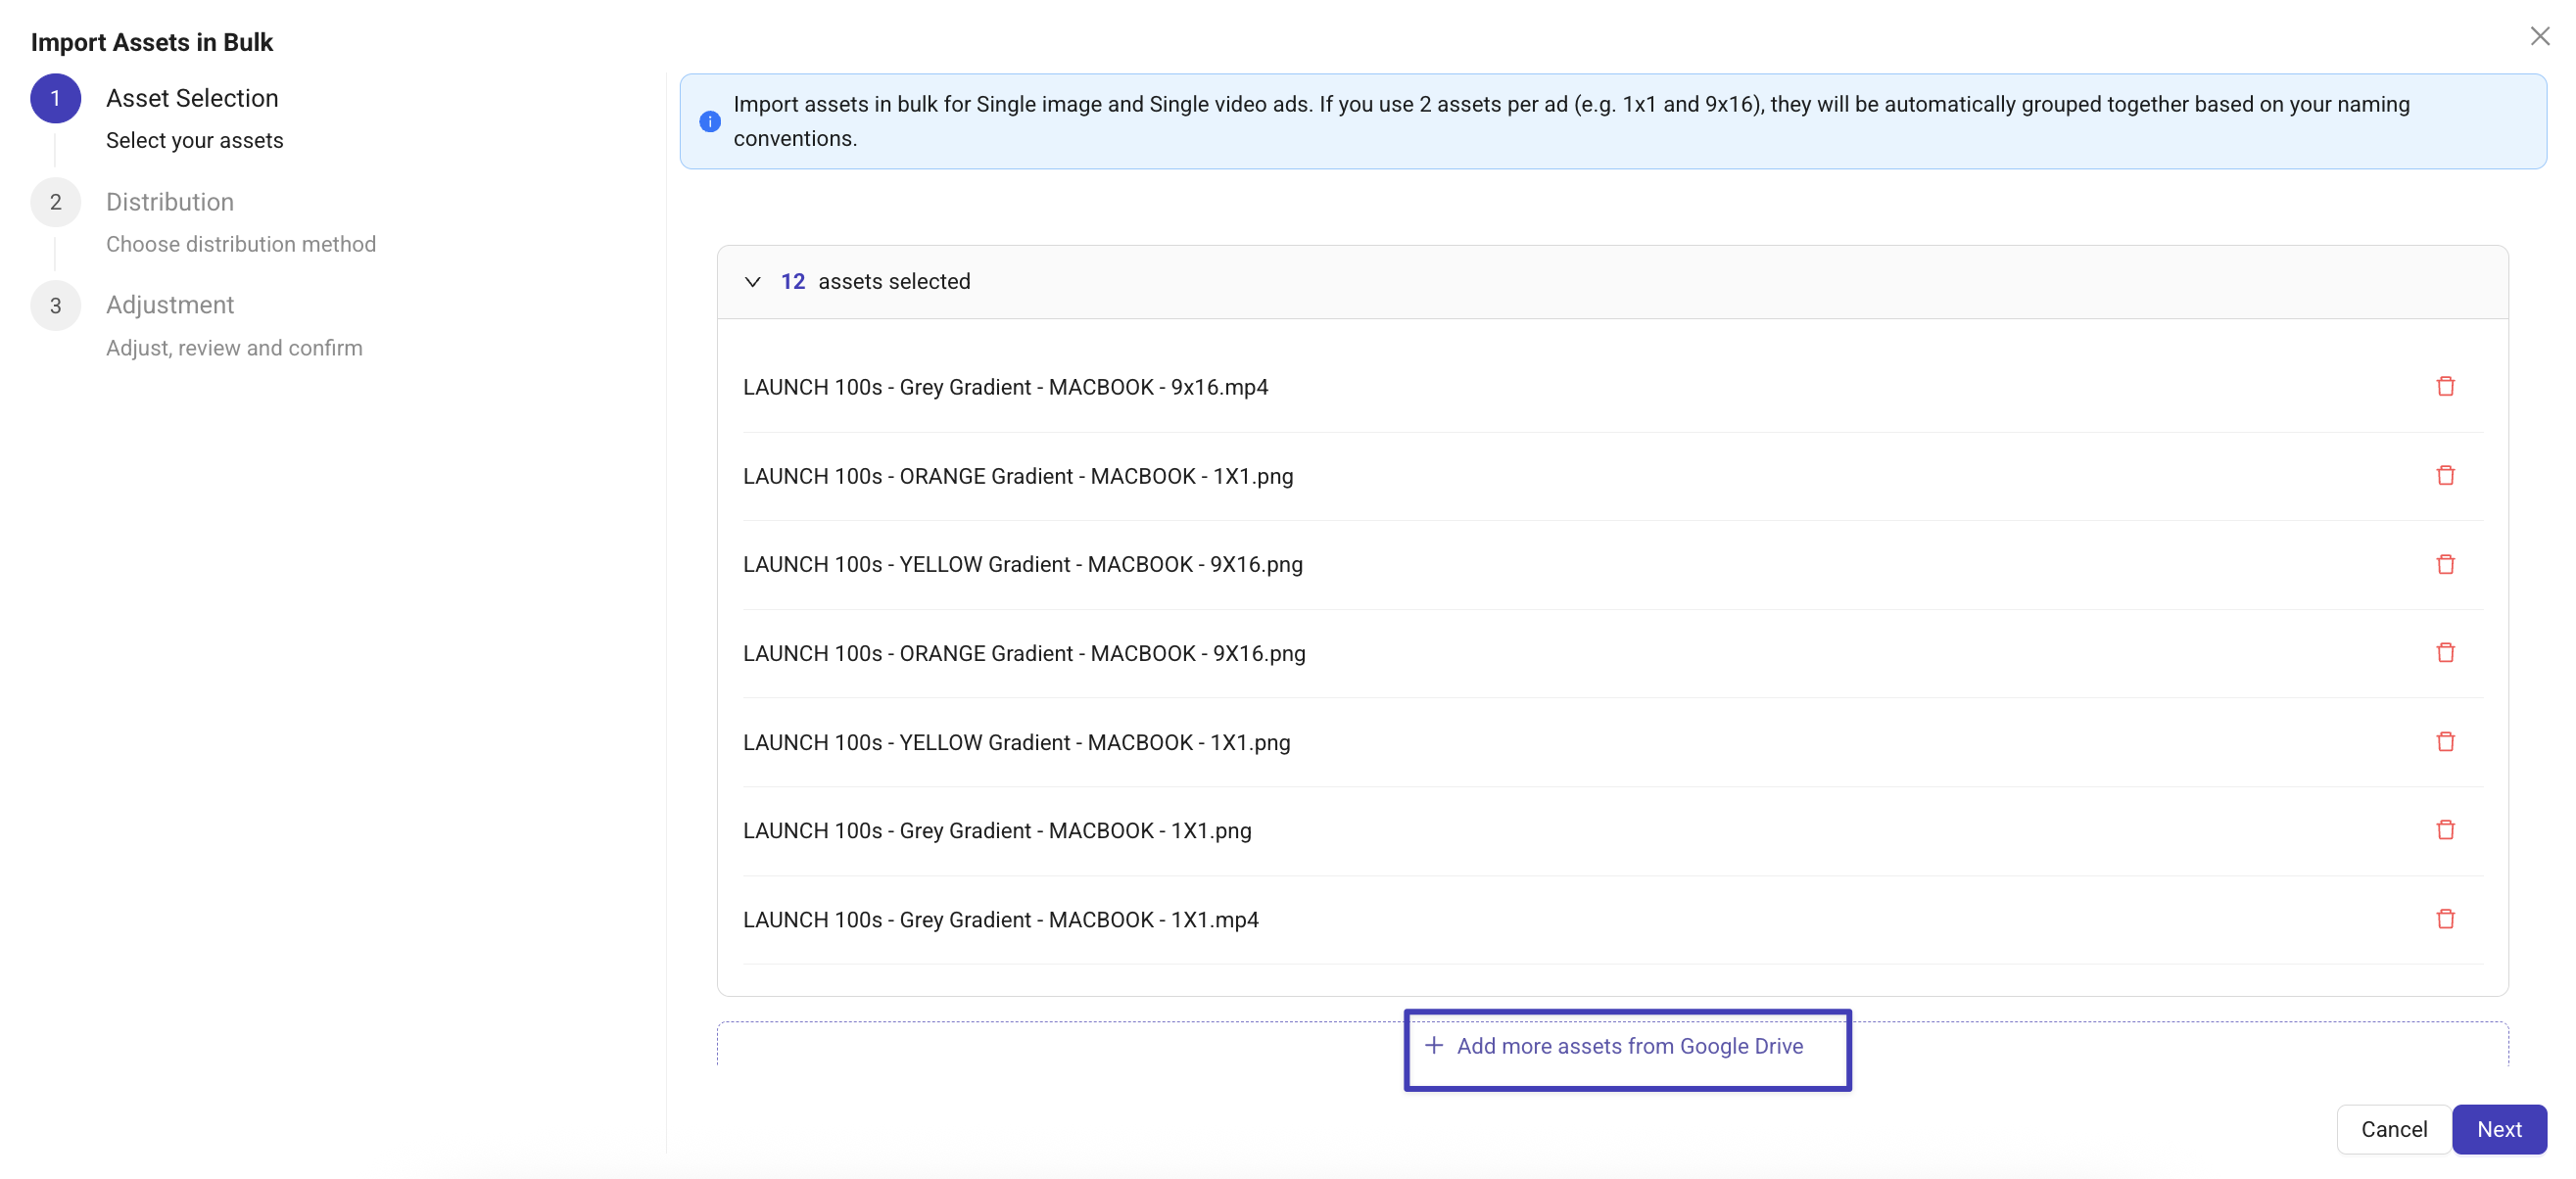
Choose how they should map into rows
Kitchn matches assets by filename automatically.
You can choose any of the options below:1. Add one asset per row
2. Group by 2 or 3 assets (If you're customizing placement by ratio)
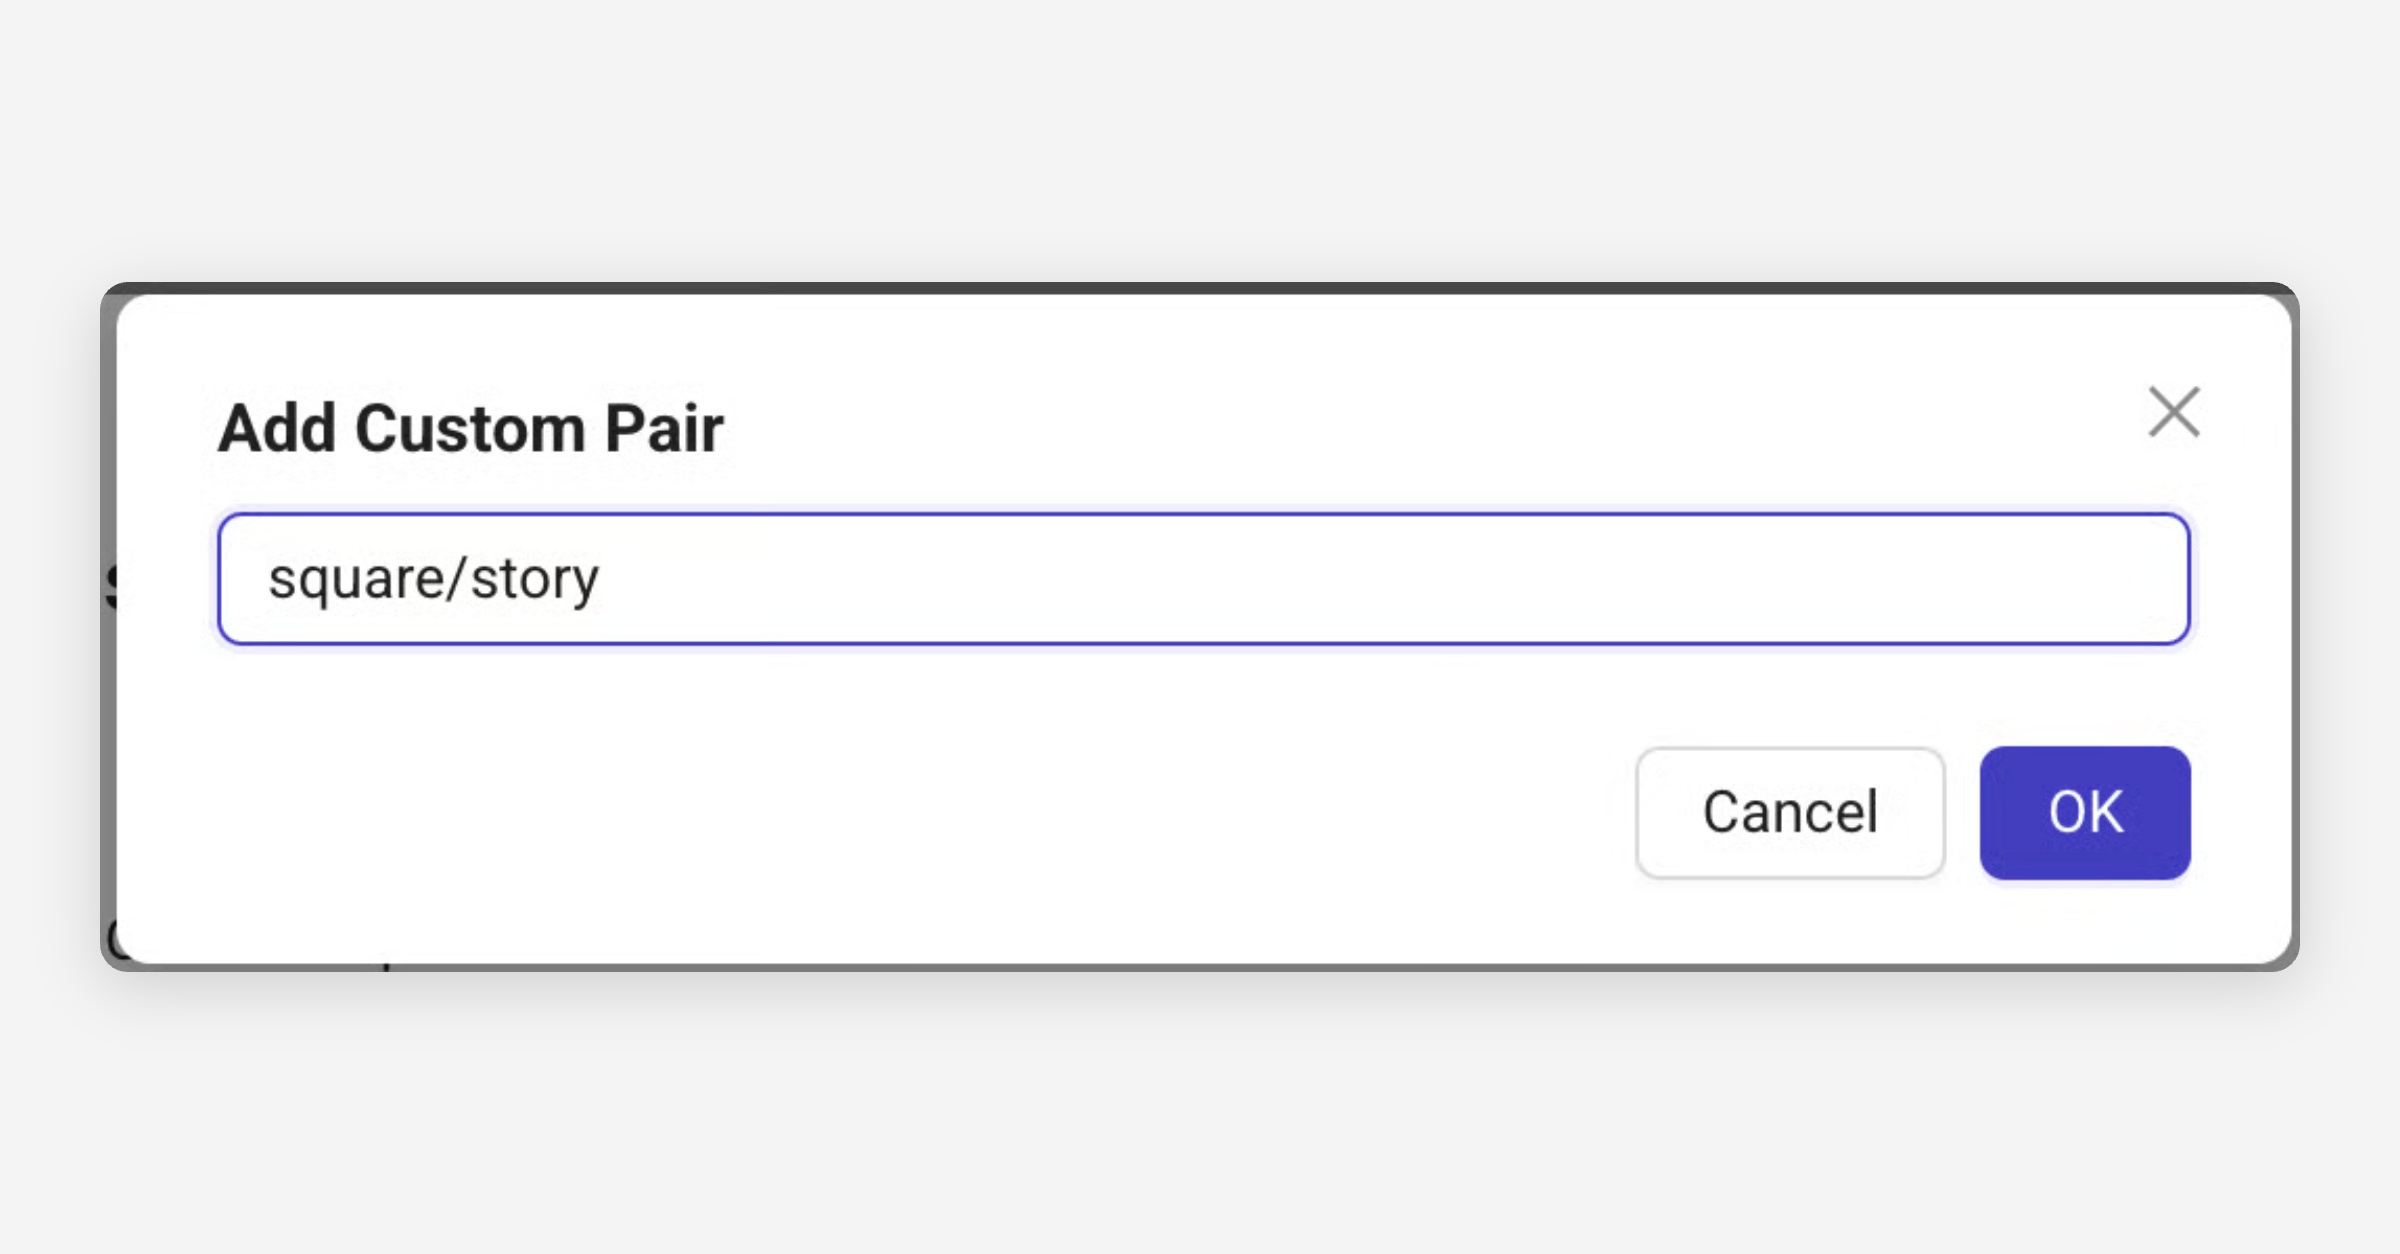
3. Custom pairing rules (if your naming doesn’t follow standard patterns)
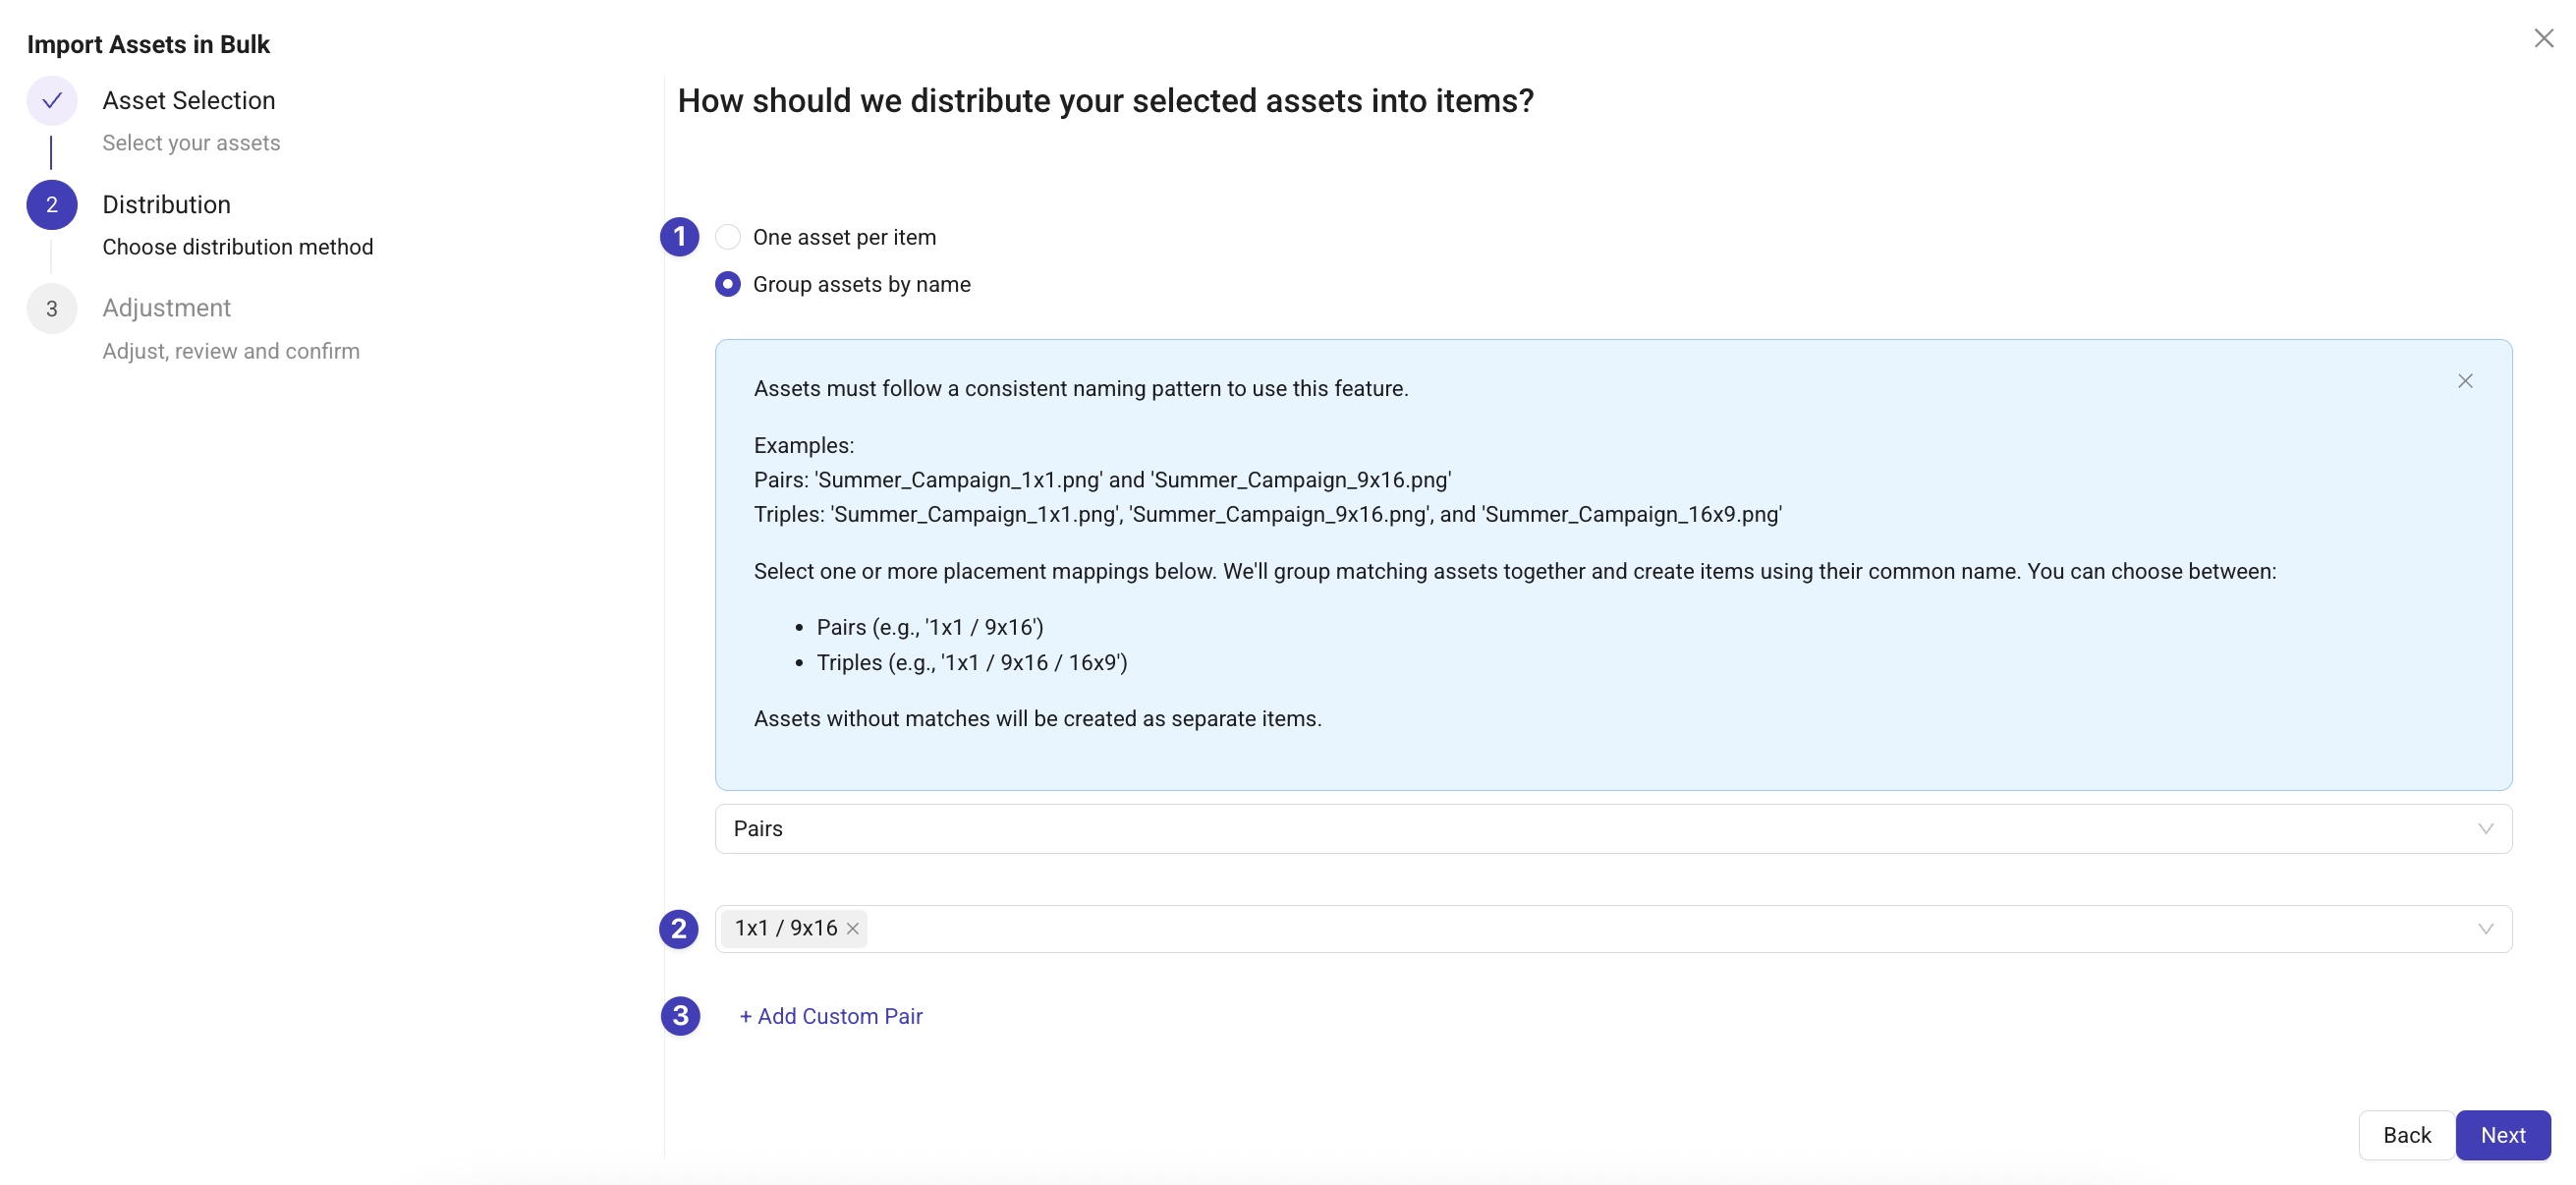
Tip: Working in another language? Use Custom Pair: it supports any naming format, in any language.
Confirm and create your ads
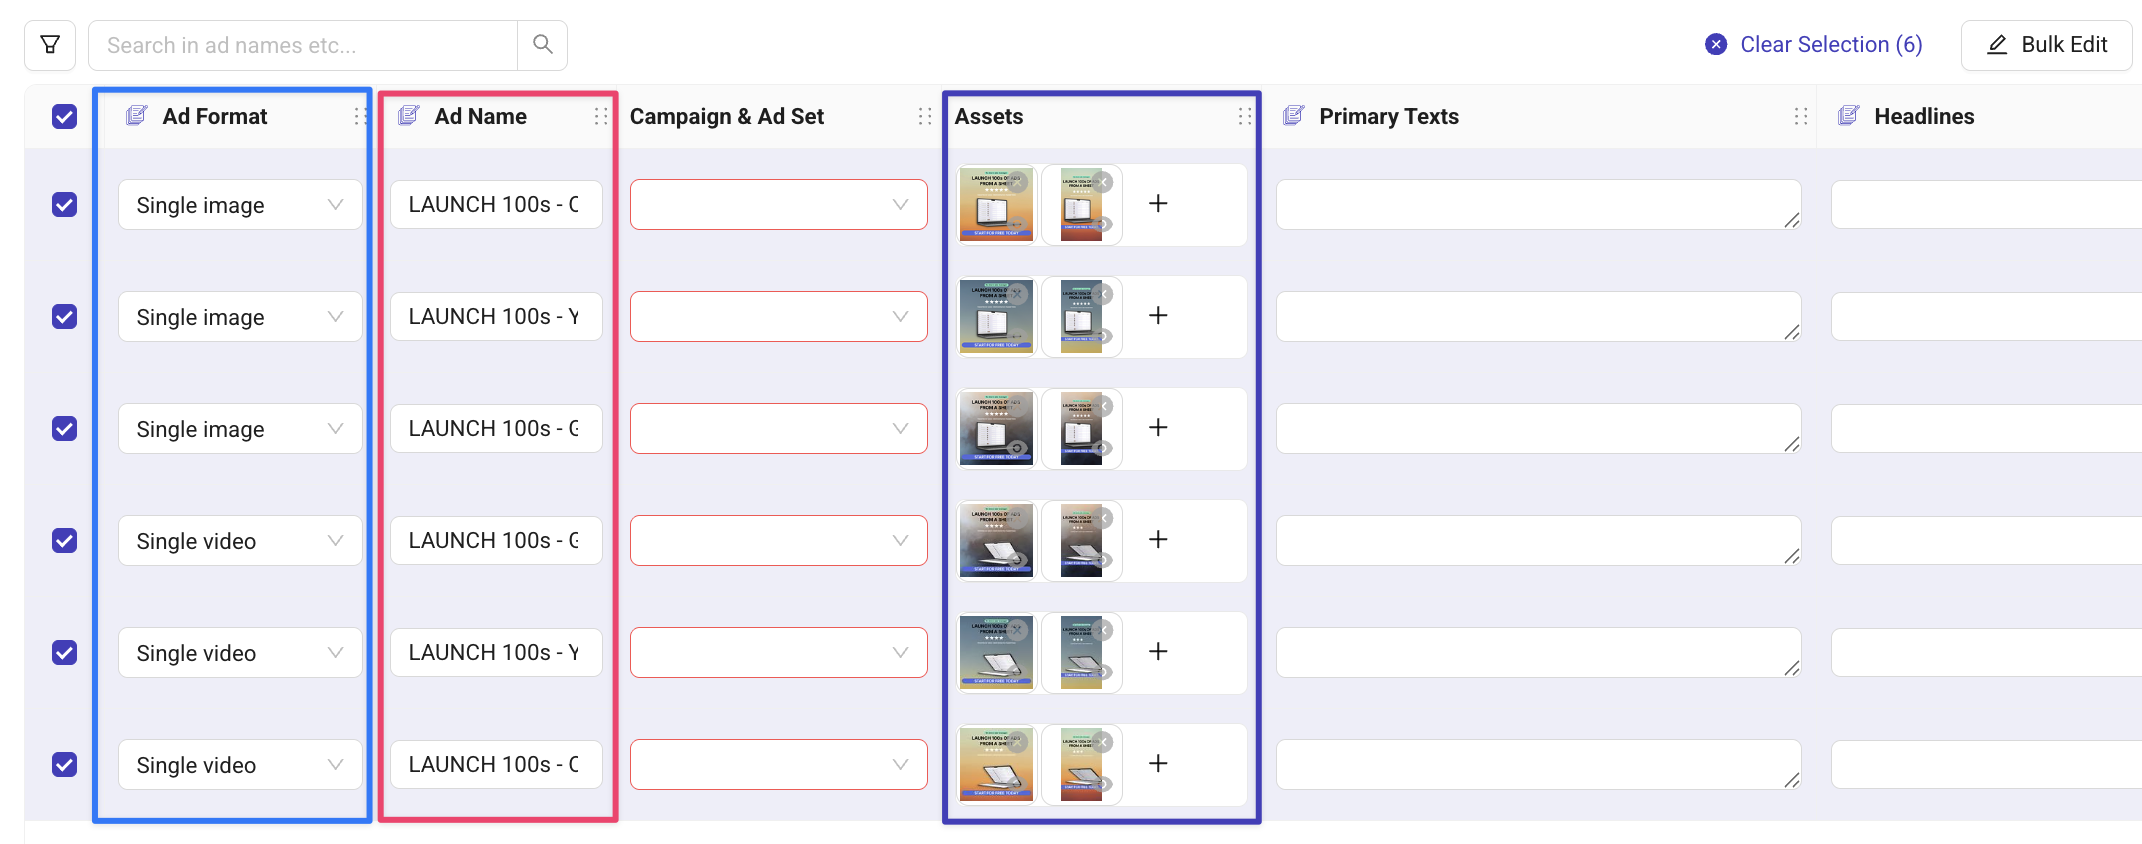
Kitchn creates one row per grouped creative, assigns the correct ad format, and generates a clean ad name from the filename.
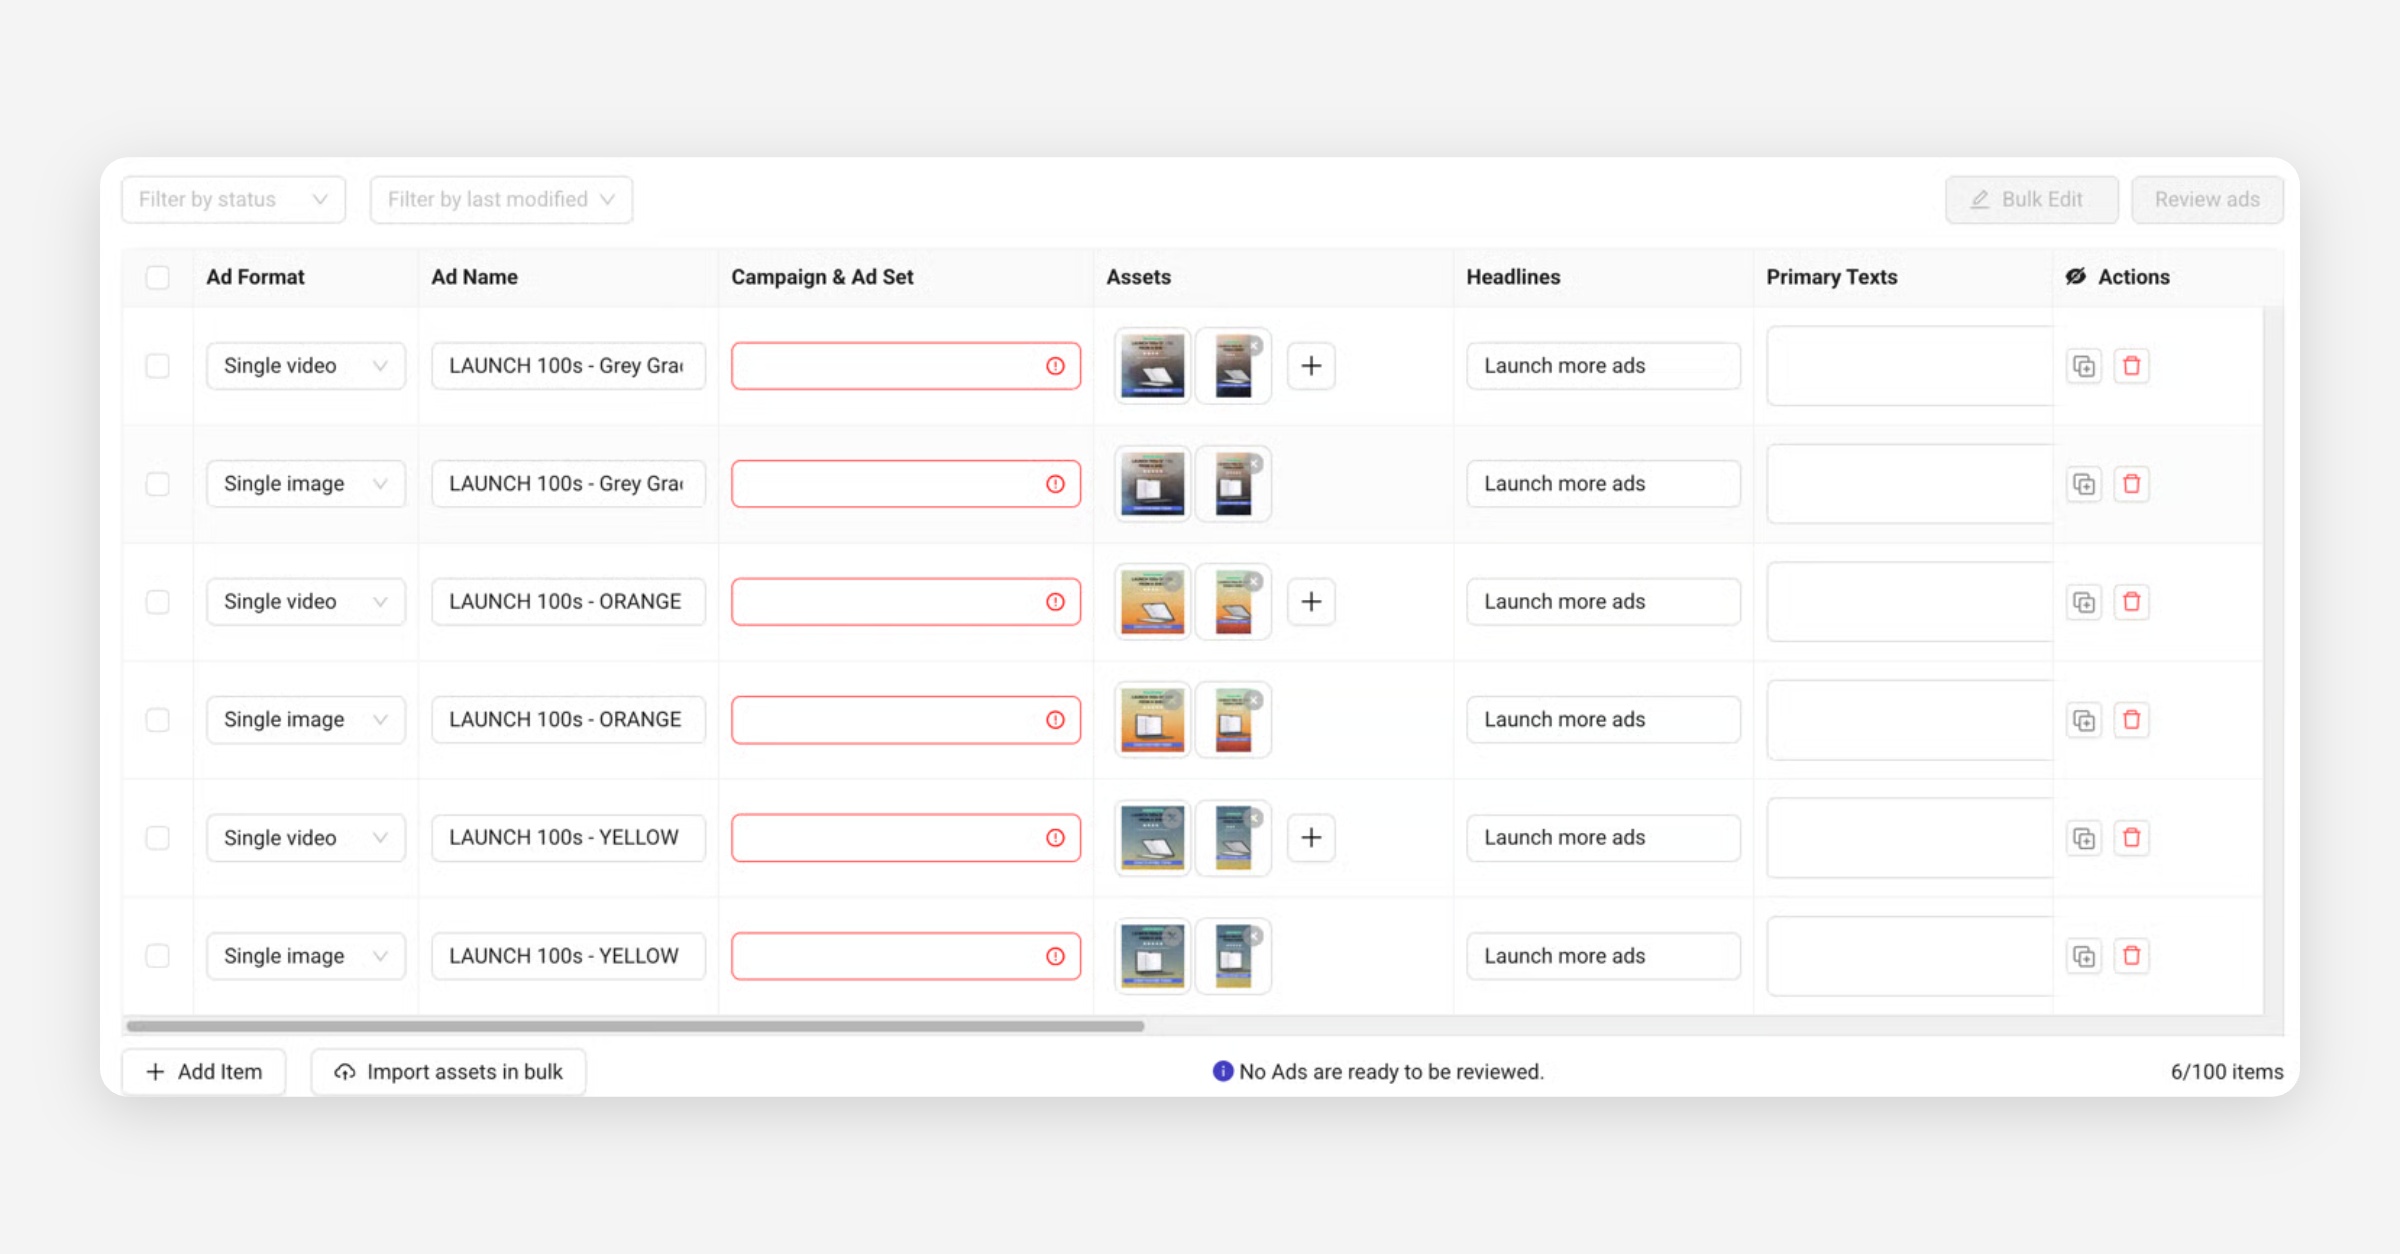
In the example below all 12 assets were correctly grouped into 6 items, with 2 assets each. You can navigate back and forth during the import flow to adjust assets or grouping. You can also adjust assets across different rows. (Use the highlighted drag & drop button above)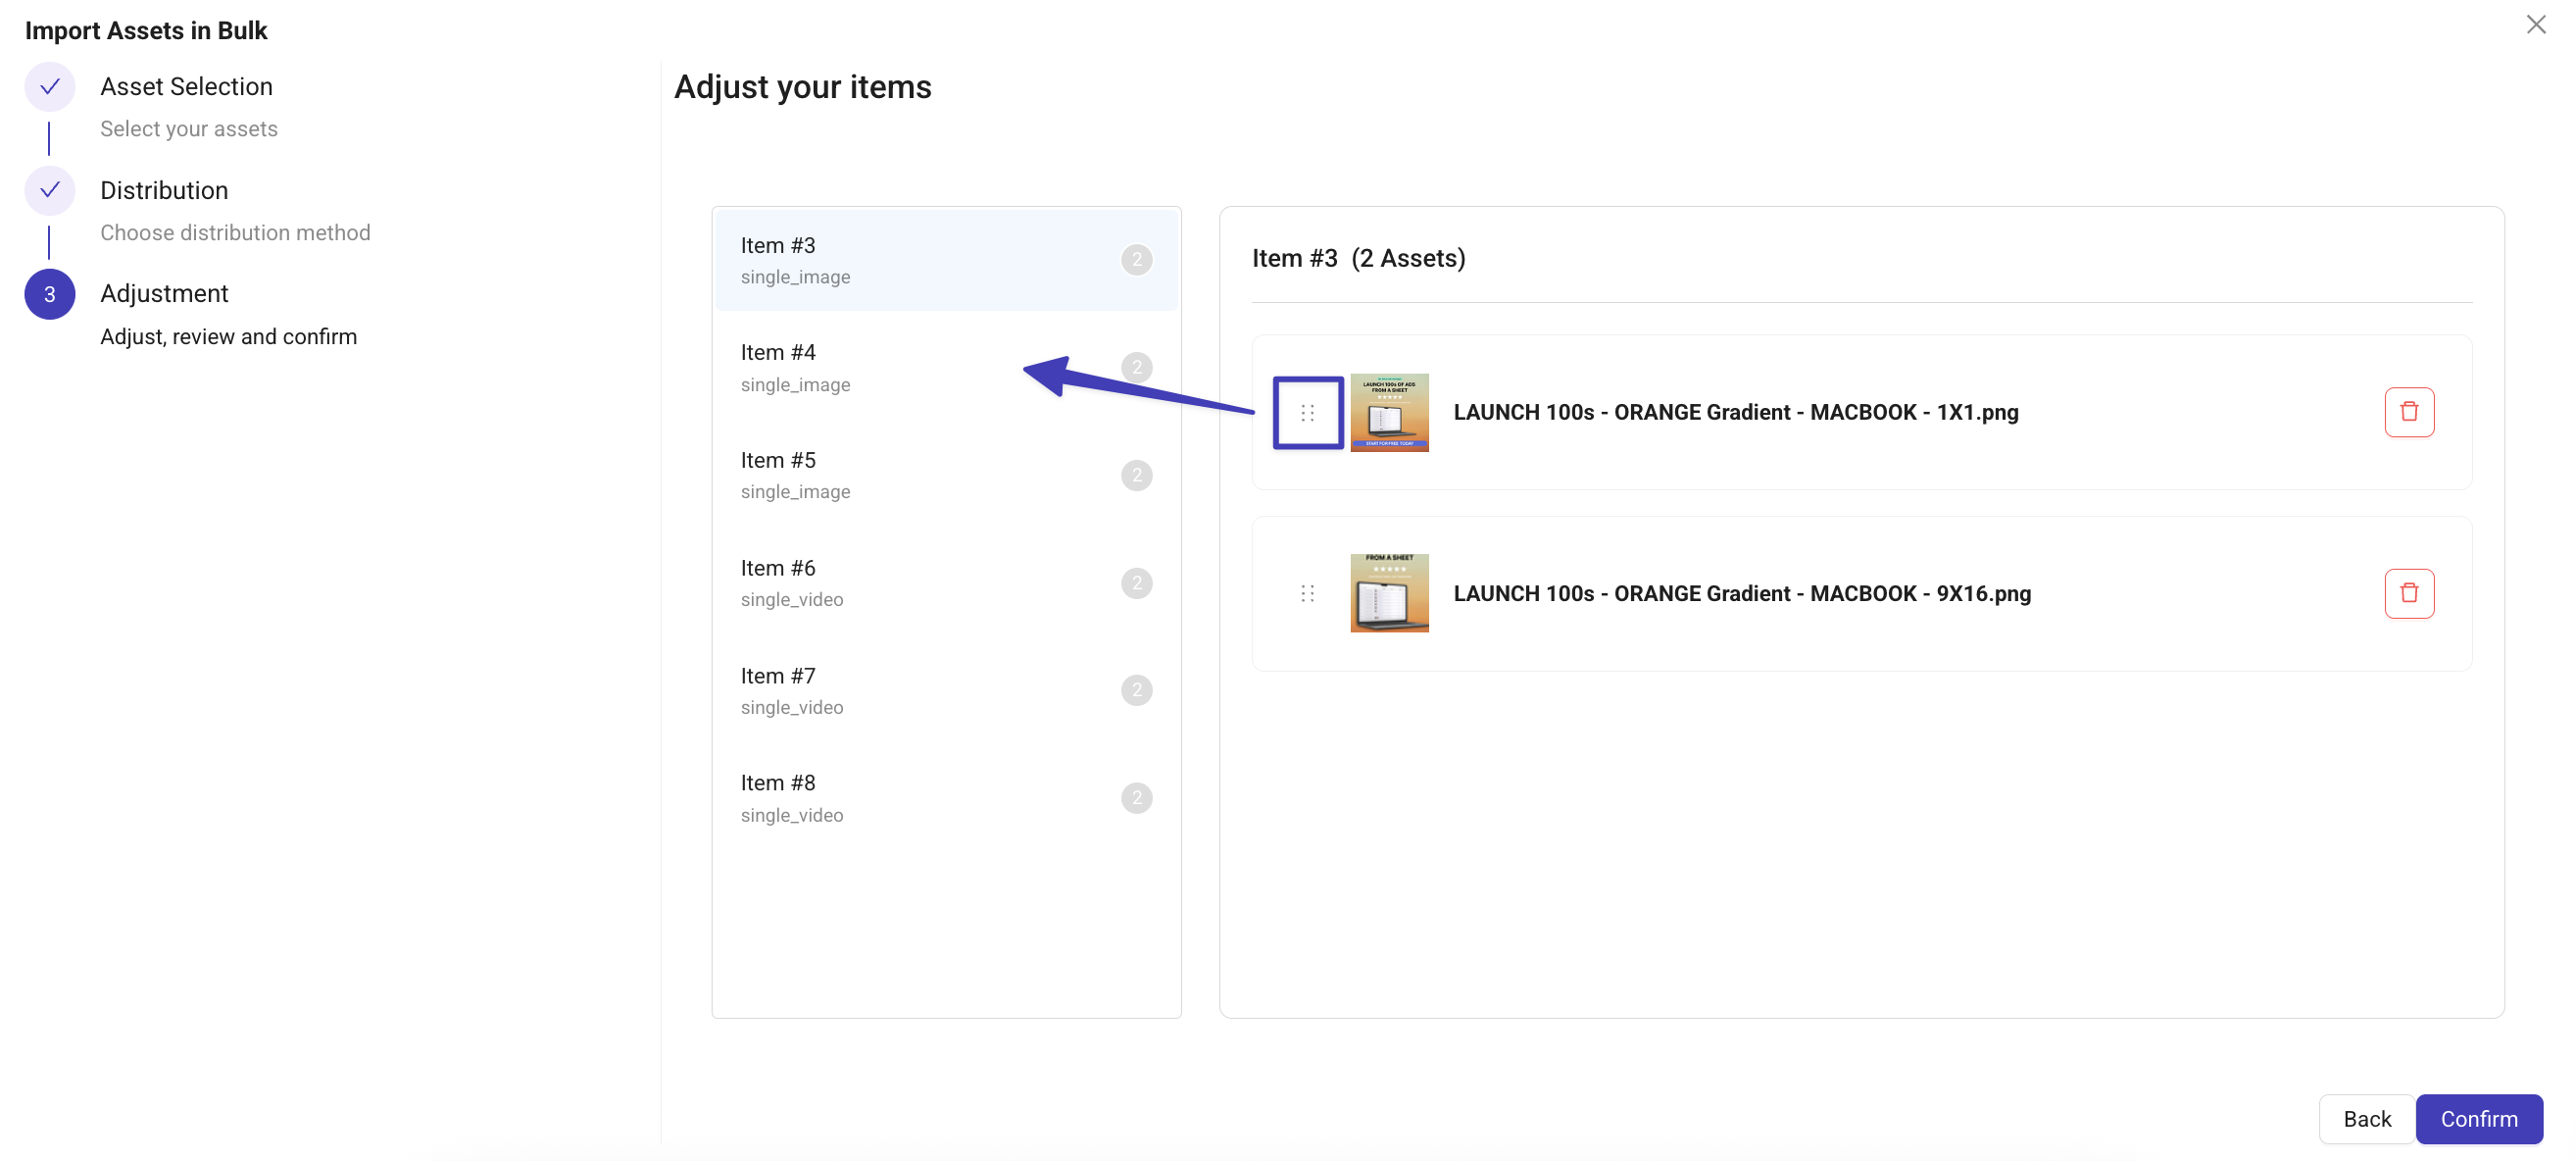
And, voilà, you're one step closer to publishing your ads.
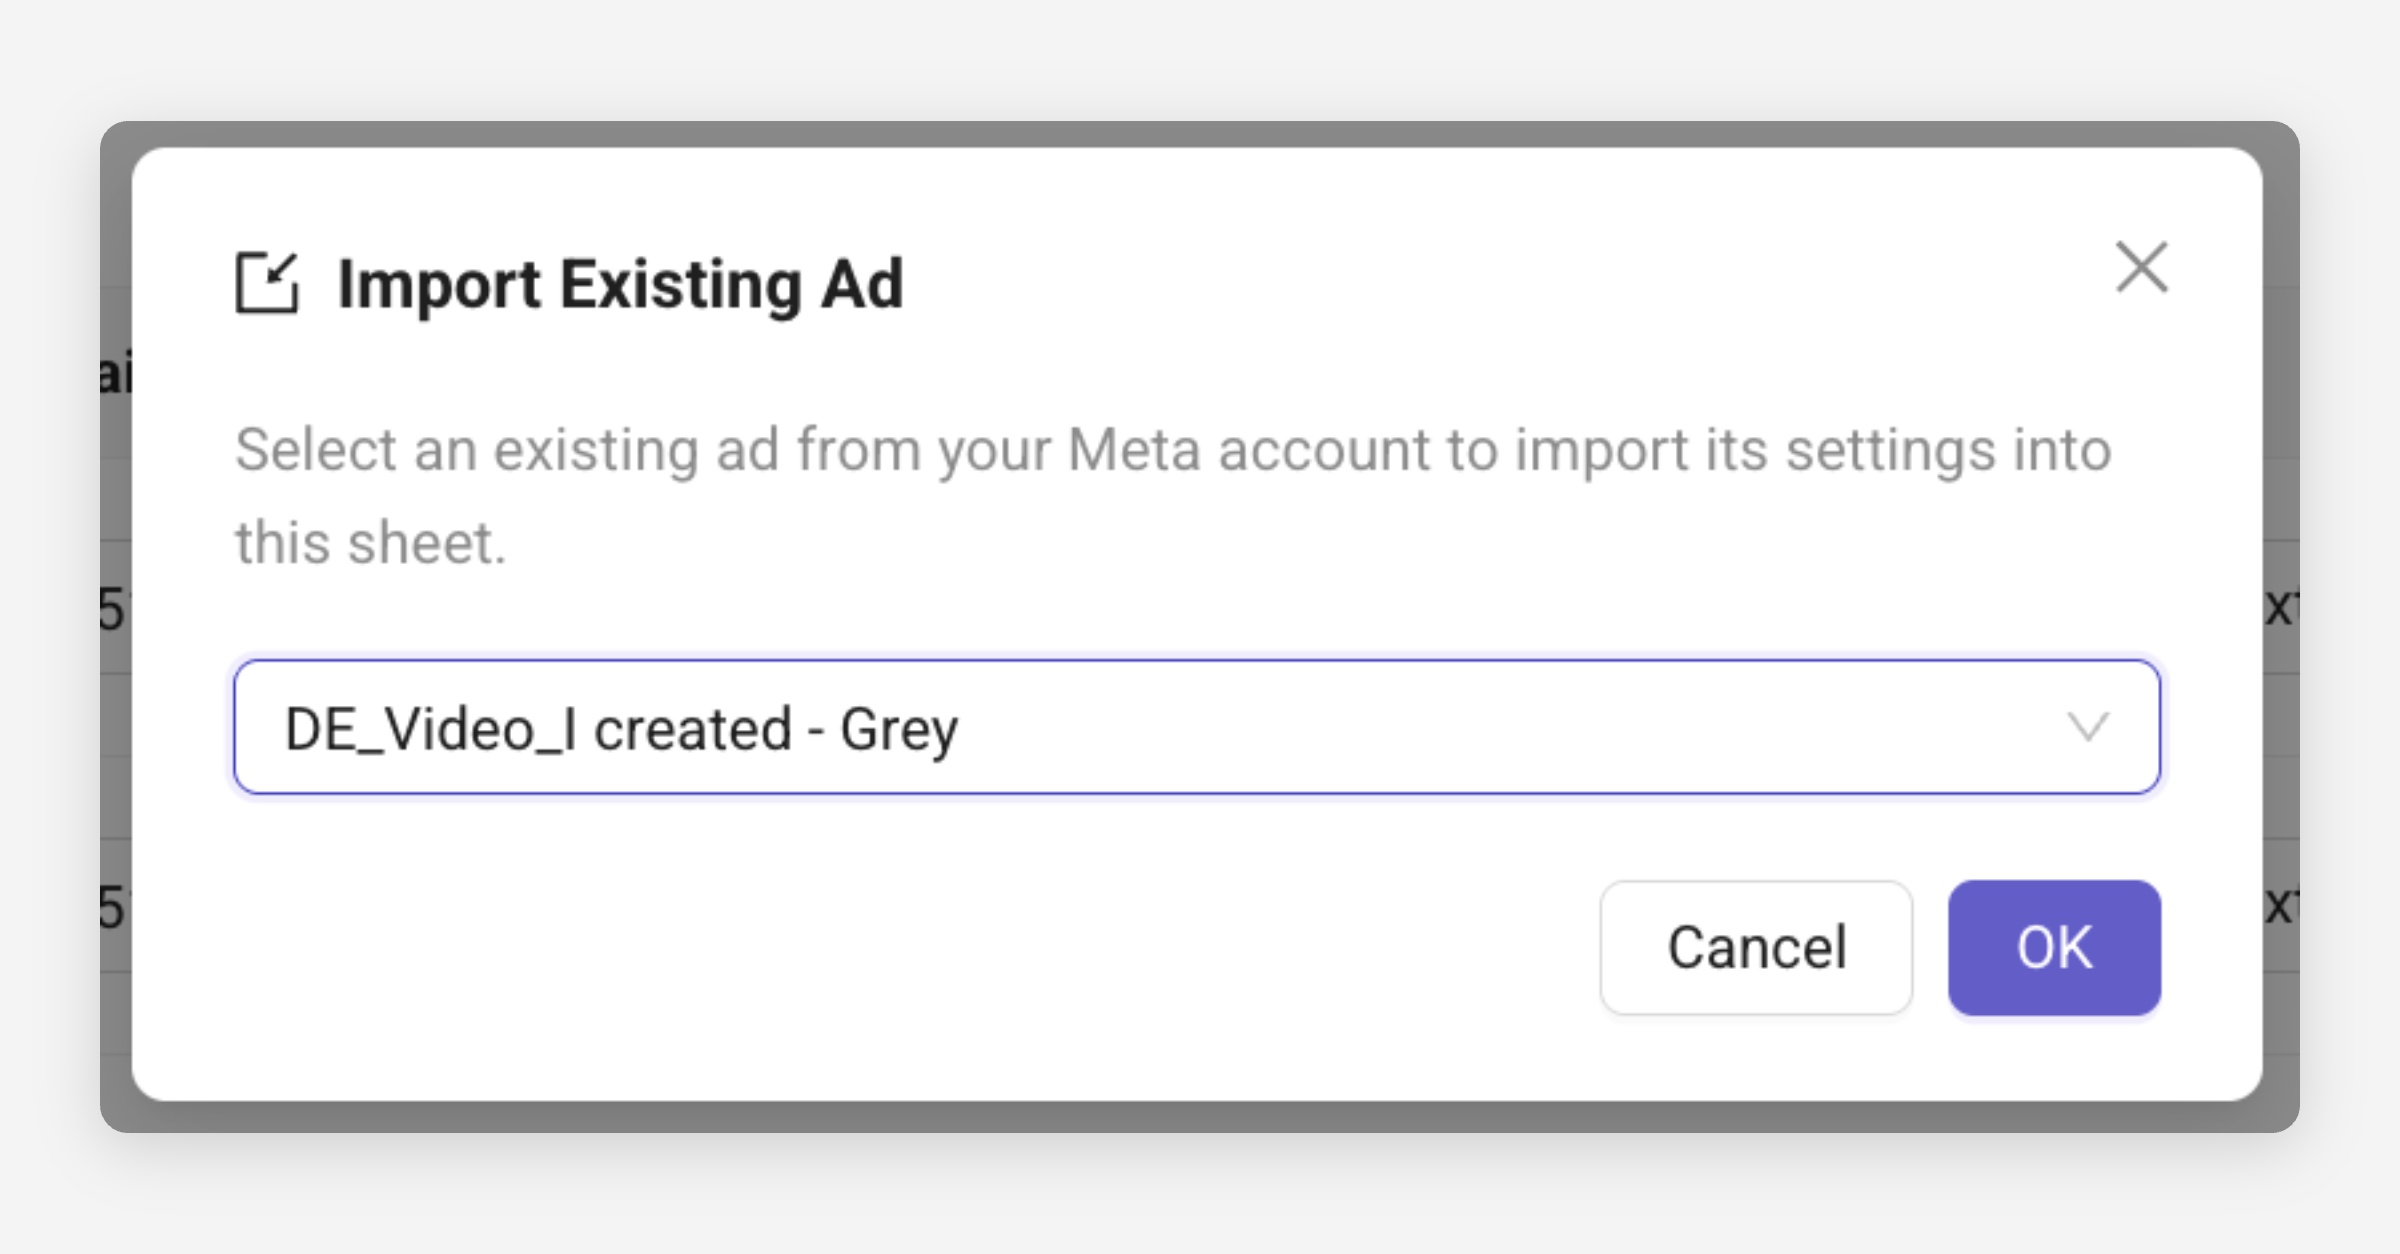
Import Existing Ad
You can pull fields from an existing ad into your Launch Sheet.
What gets imported:
Headlines
Primary texts
Descriptions
Destination URL
Display URL
CTA
Click “Import Ad” at the bottom-left of the Launch Sheet.
This is ideal when you want to:
recreate a successful ad
test new assets with the same copy
build a new ad template
Fast Editing Options
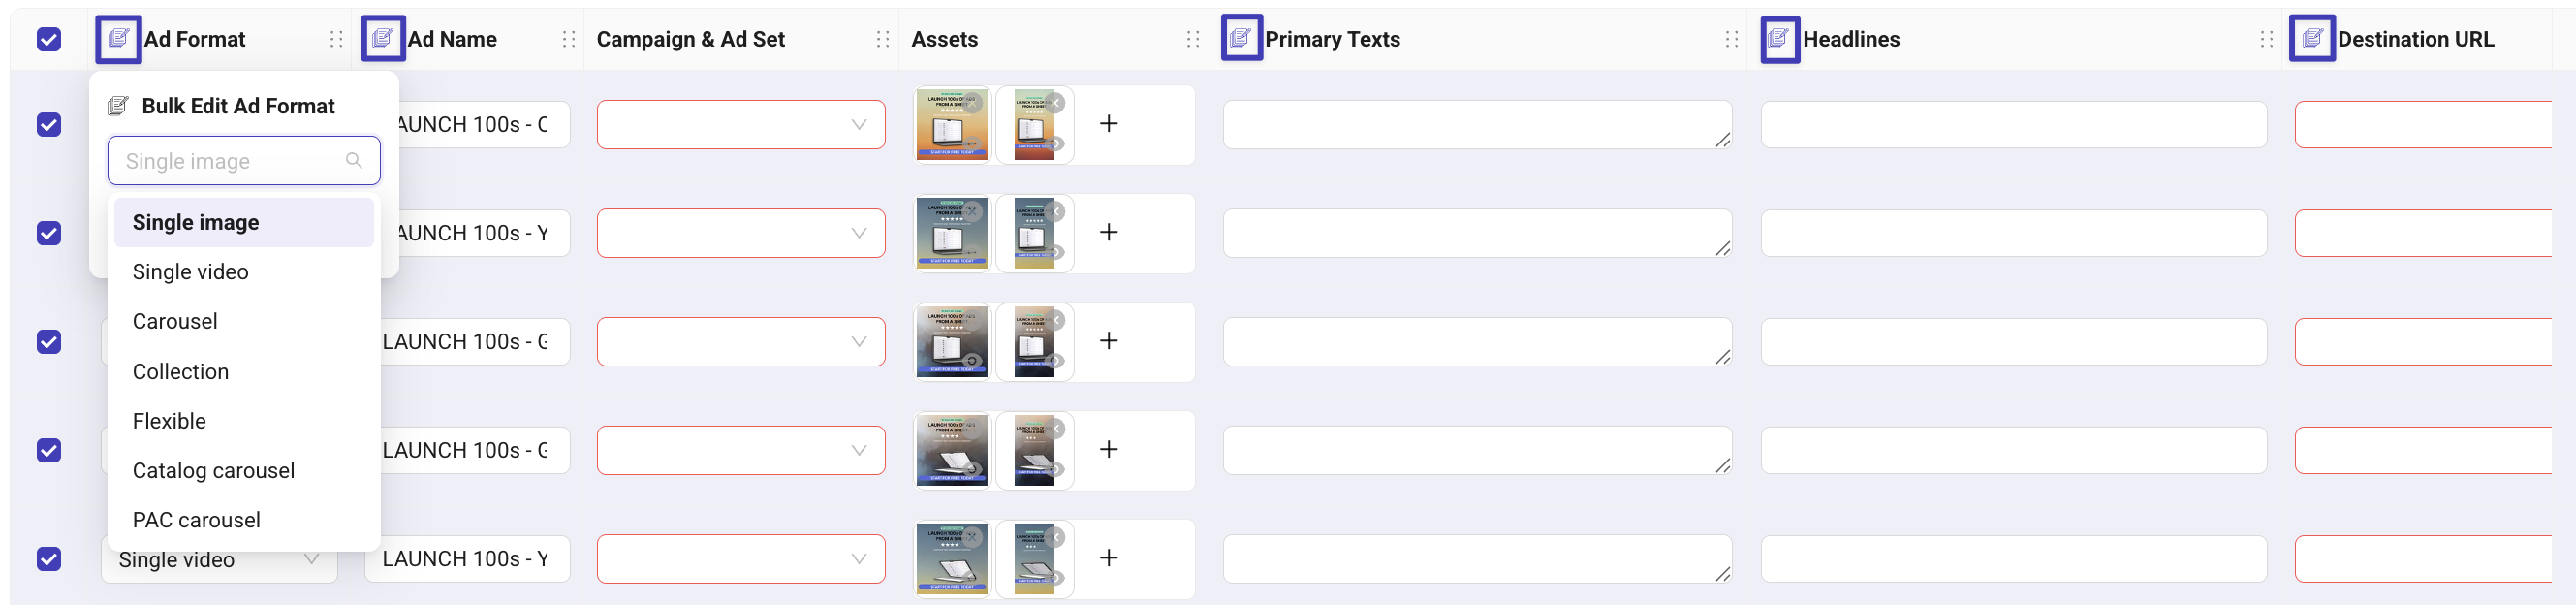
Column Header Editing
This is the fastest way to update multiple rows.
Instead of using the old Bulk Edit panel, you can now:
Select several rows
Hover a column header
Click the small edit icon
Update the value once: Kitchn applies it to all selected rows
Why this is better
1 click instead of opening a panel
Remembers your last used edit (huge speed boost)
Supports editing:
Ad format
Ad names
Primary text
Headlines
Descriptions
URLs
Product Set ID
Promo Code
Fast Ad Name Editing (Replace, Prefix/Suffix, Find & Replace)
Ad names often require structured updates when building ads at scale. Launch Sheets include advanced tools that help you clean, adjust, or standardize names instantly across many rows.
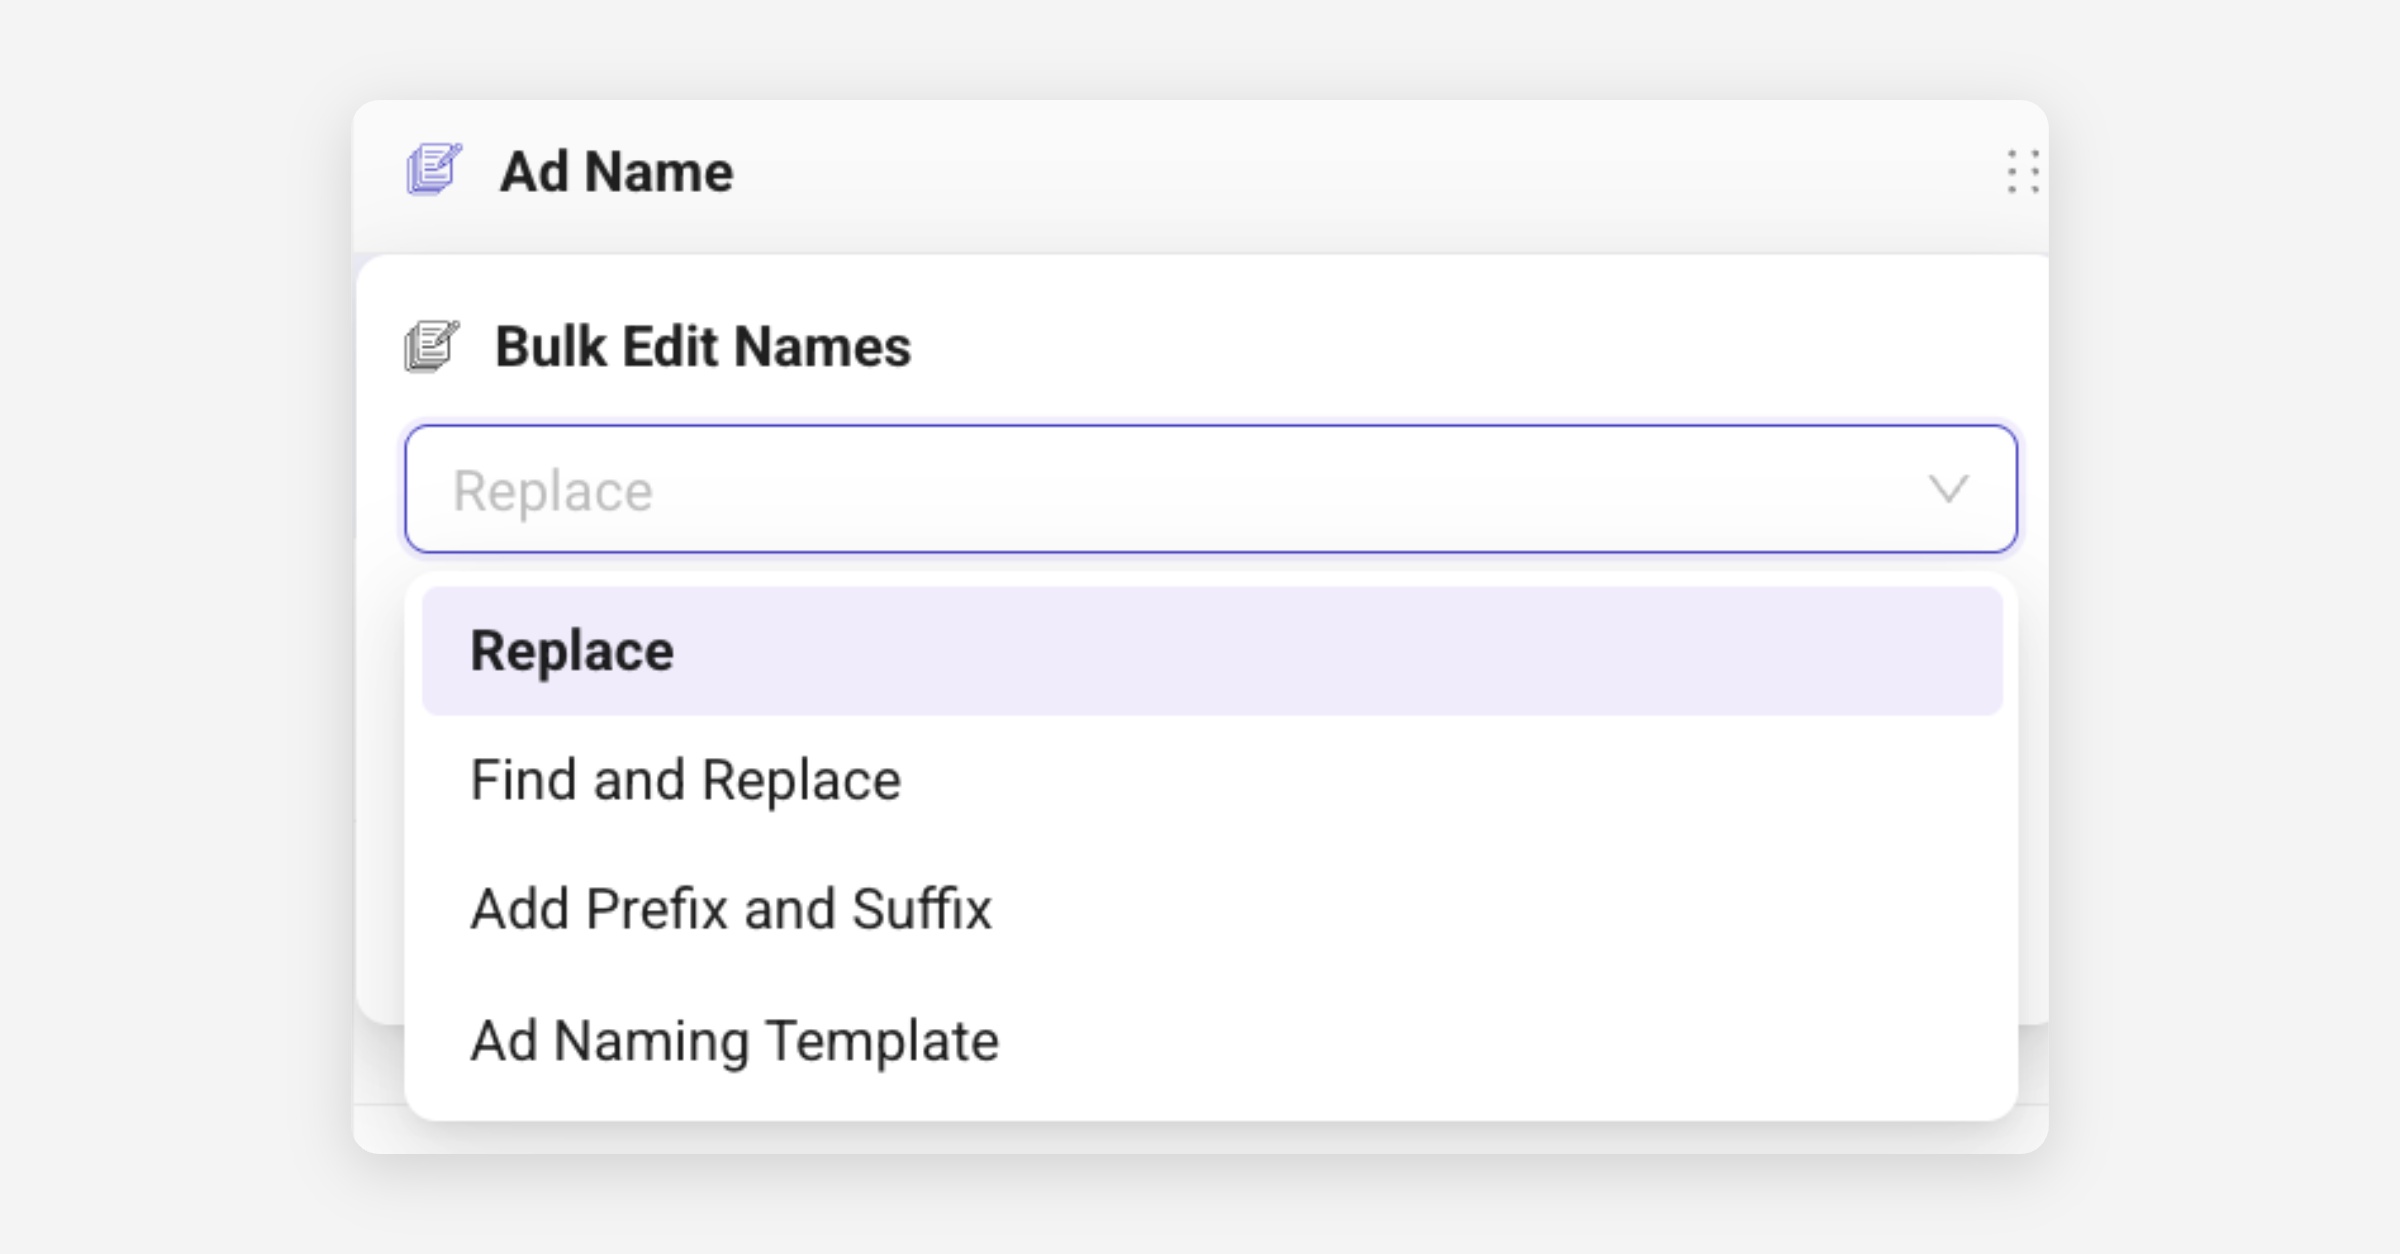
🔤 Replace
Use this when all selected rows should receive the same ad name.
🔍 Find & Replace
Change only part of the name without overwriting everything.
Useful for:
fixing typos
replacing “UGC1” → “UGC2”
switching markets (“UK” → “US”)
Note: This option is case-sensitive.
➕ Add Prefix
Adds text before the current ad name.
Examples:
“BlackFriday_AdName”
“US_AdName”
➖ Add Suffix
Adds text after the current ad name.
Examples:
“AdName_v2”
“AdName_UGC”
“AdName_Promo”
Ad Naming Template: Learn how to use it here
It also remembers your last edit type (e.g. Replace, Add Prefix), so next time you’ll save even more clicks.
Bulk-Edit Panel (Legacy – Soon Deprecated)
Once you have added your creative assets in bulk to the Launch Sheet, you can edit all other fields in bulk using the "Bulk-Edit" option in the top right corner.
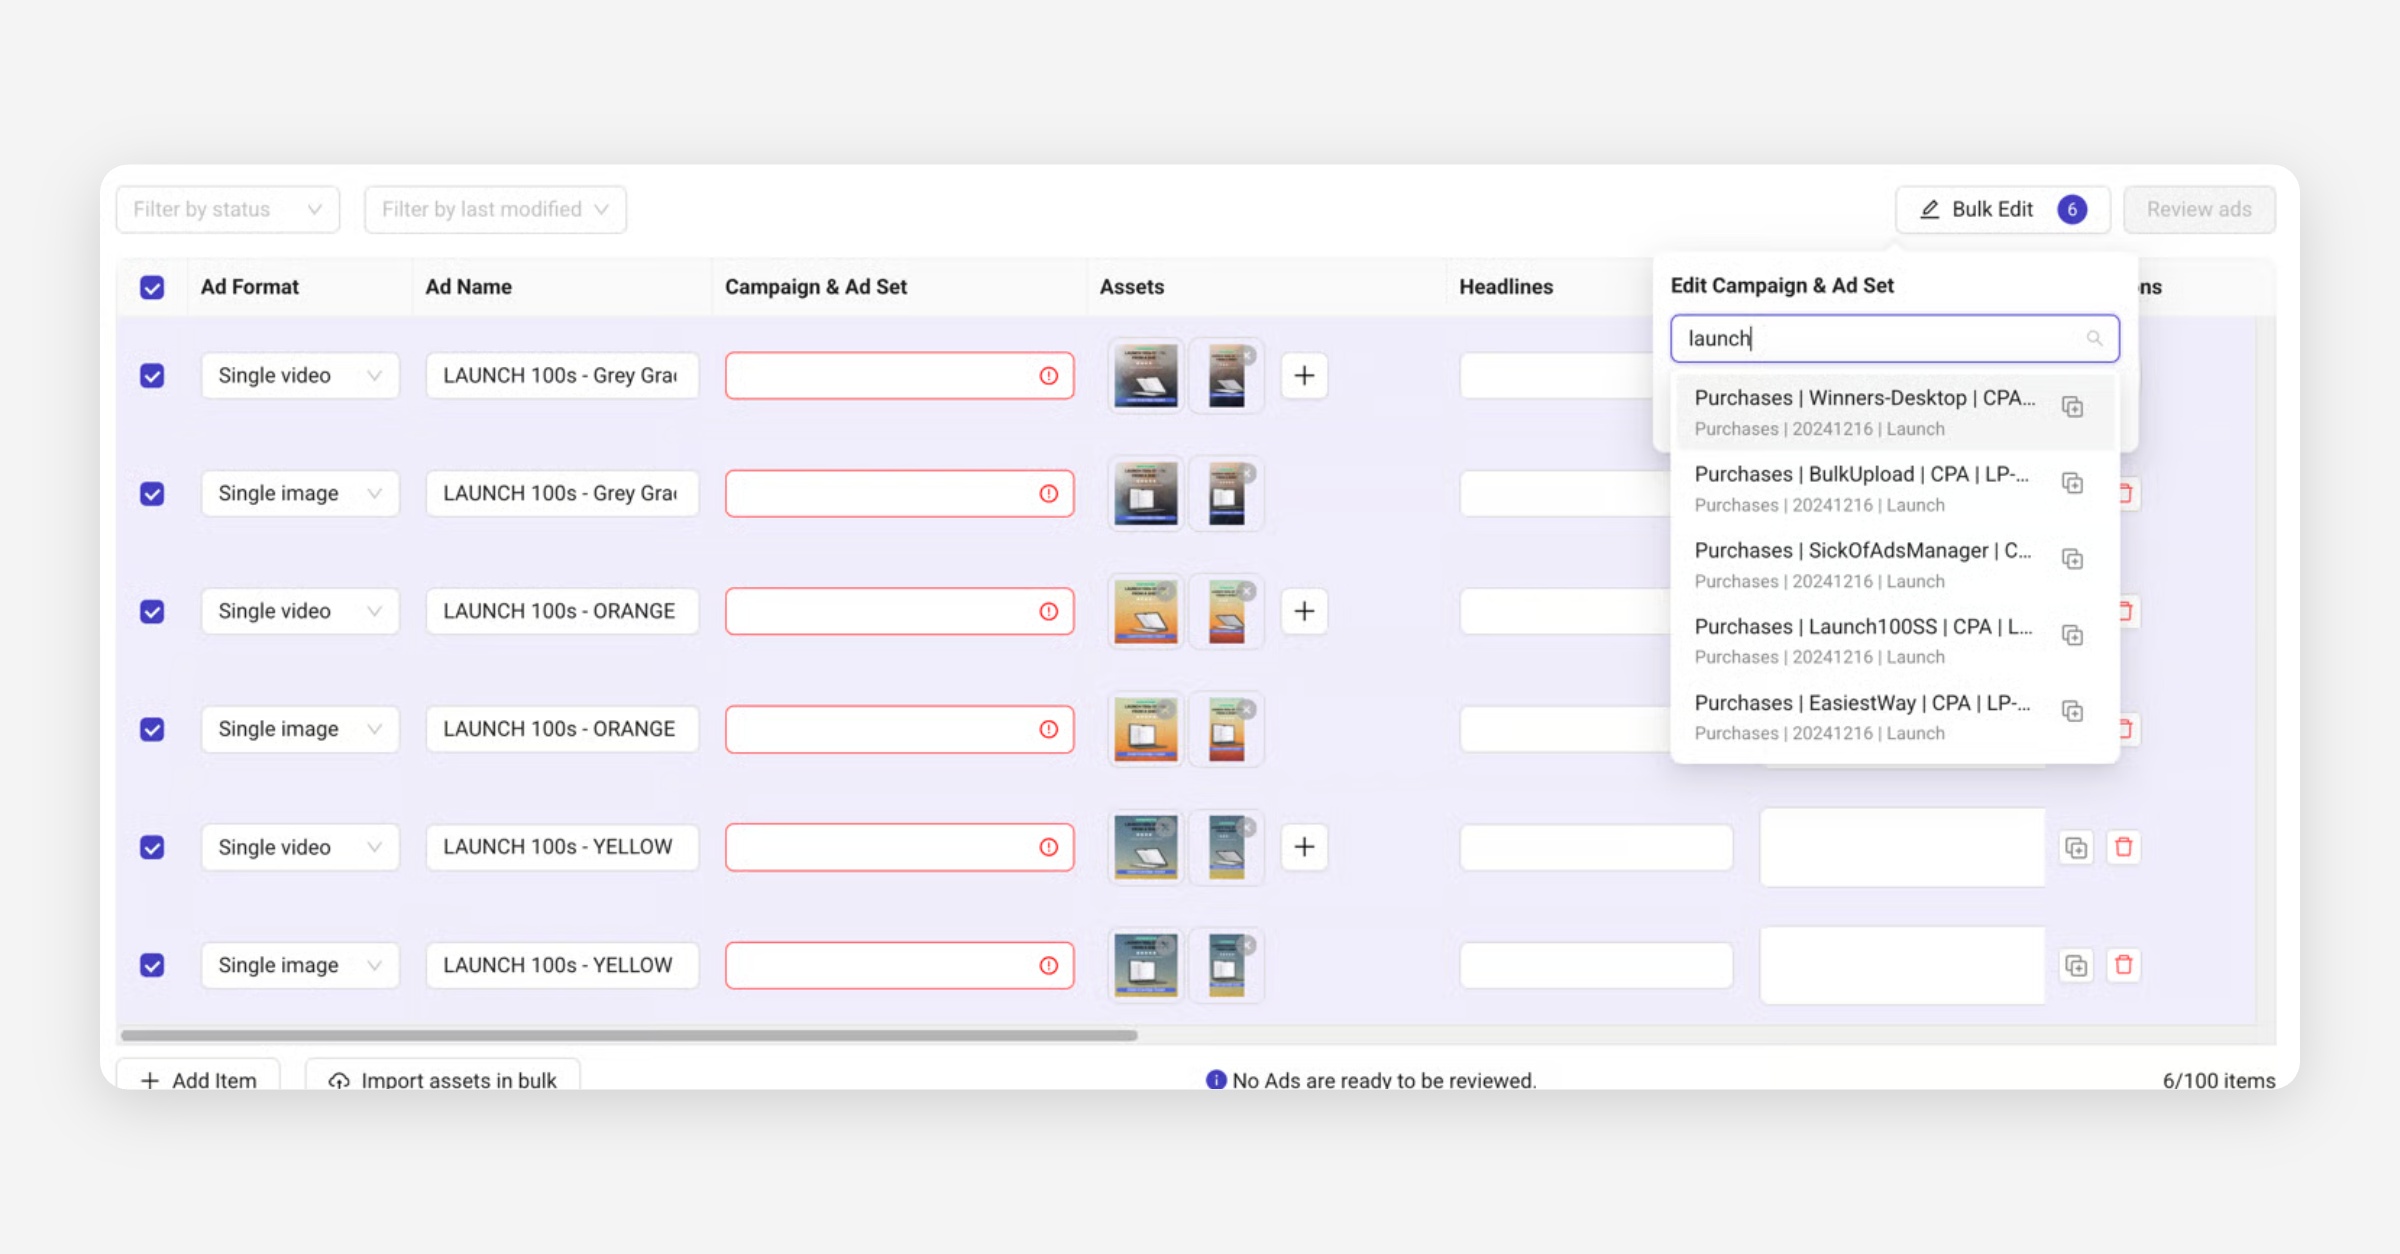
If you already have a value in the first row of the selected items, its value will show up as the default value.
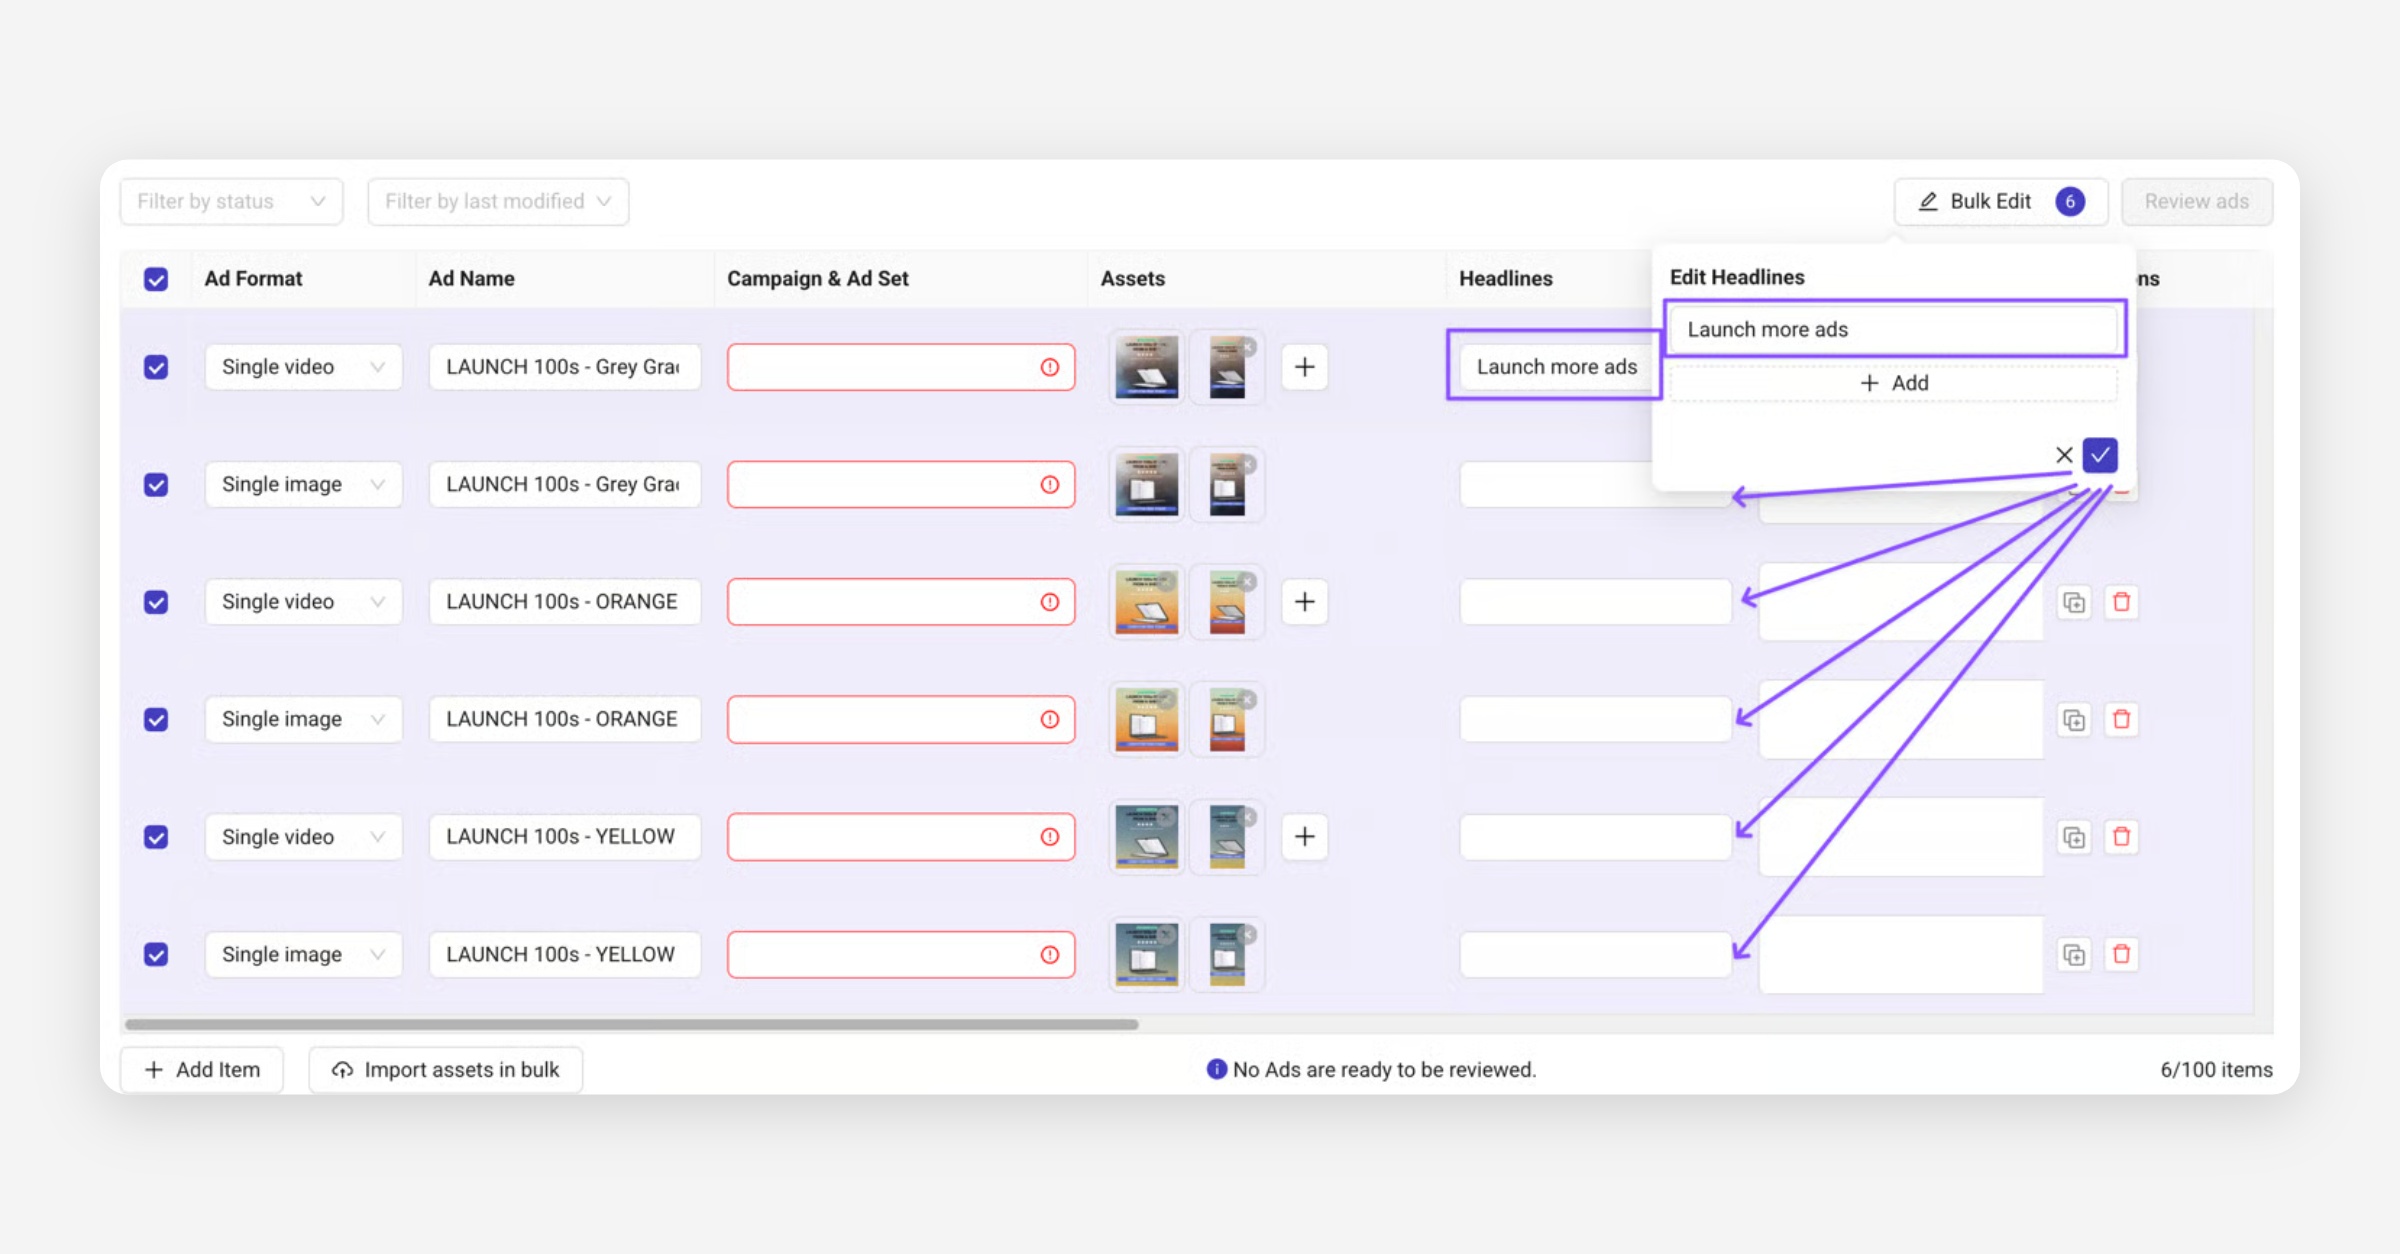
Hitting the ☑️ button adds "Launch more ads" to all other rows as well.
Was this helpful?